I was standing in my kitchen on a rainy Thursday, staring at a half‑crushed box of store‑bought sponge cake that had somehow turned into a soggy mess. The scent of wilted strawberries wafted up, and I thought, “If this is what a shortcut looks like, I’m going to reinvent the whole thing.” I grabbed a fresh pint of strawberries, a block of butter, and a stubborn determination to prove that a homemade version could be both airy as a cloud and decadently creamy. The moment the batter hit the whisk, I could hear it whisper promises of a light, springy crumb that would practically melt on your tongue.
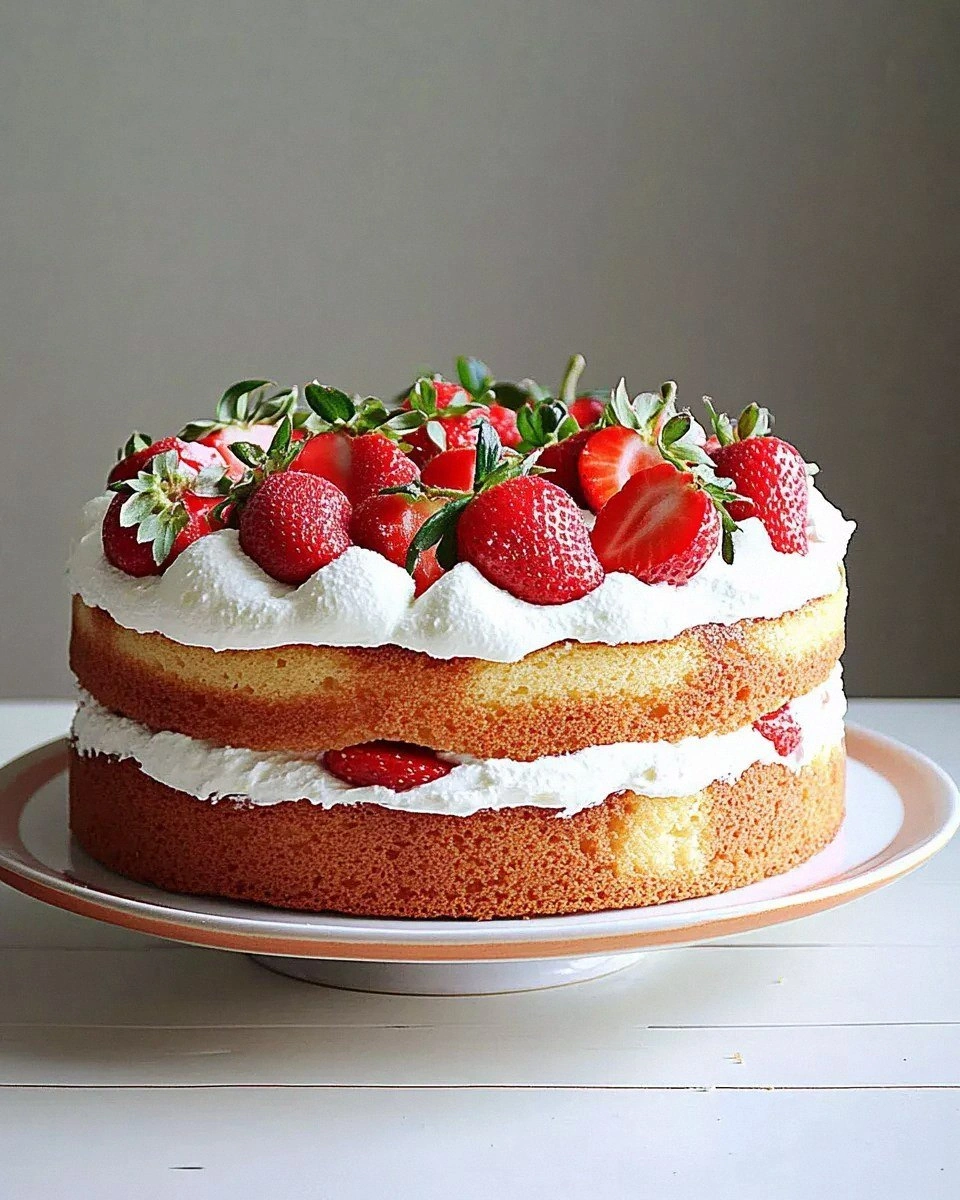
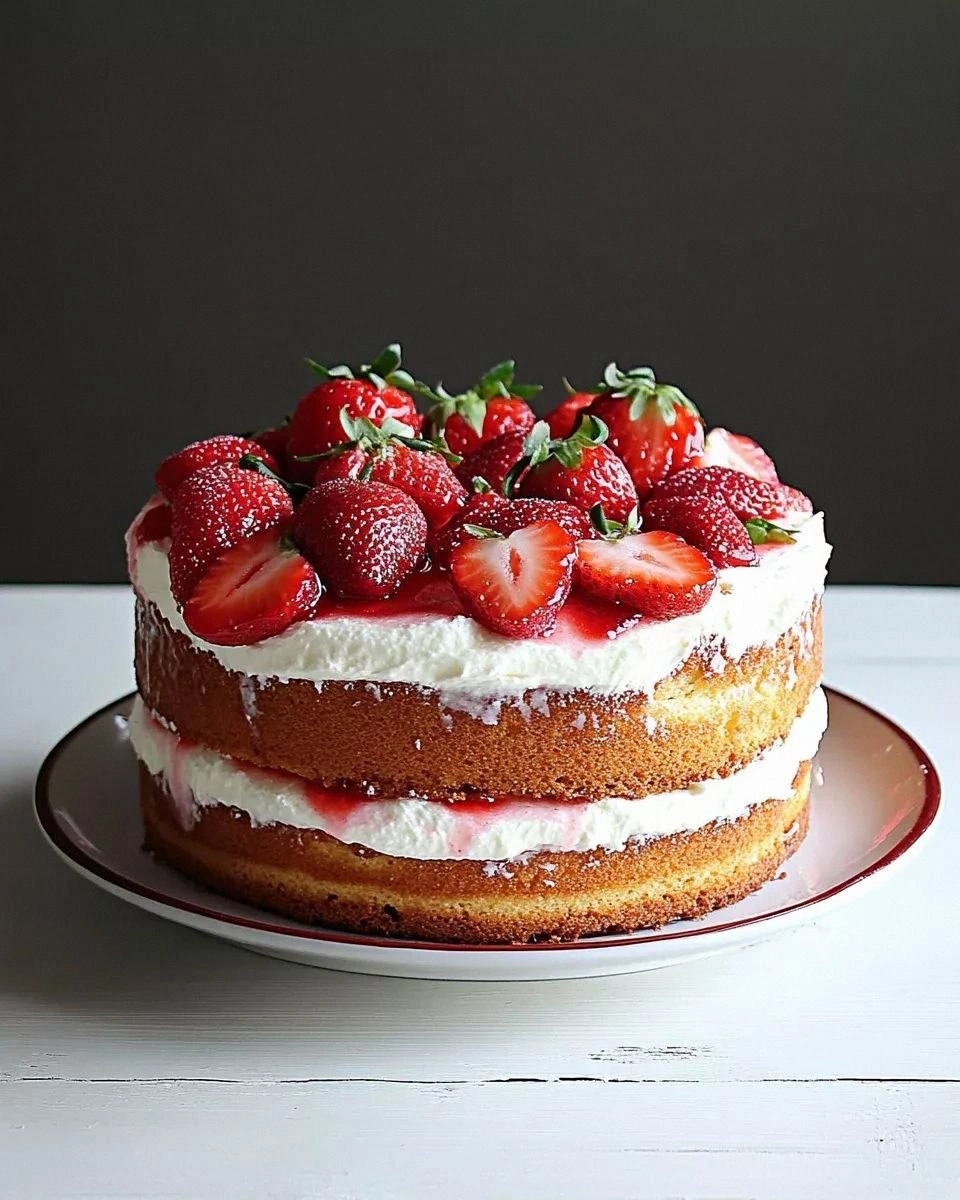
Fast forward a few hours, and the kitchen was humming with the sweet perfume of vanilla and baked sugar, while the oven door opened with a theatrical sigh that announced the birth of something spectacular. Imagine a cake that looks like a blushing sunrise, its surface glossy with a thin veil of strawberry glaze, and inside, layers of cloud‑soft sponge cradling a silky strawberry‑infused whipped cream that feels like a hug from a summer garden. I dared you to take a bite and not go back for seconds – that’s how confident I am about this creation.
Most recipes get the sponge wrong: they either over‑mix and end up with a dense brick, or they under‑mix and the crumb collapses the moment you slice it. I’ve cracked the code by using a gentle folding technique, a precise ratio of butter to flour, and a secret weapon – a splash of strawberry‑infused milk that adds moisture without weighing the cake down. The result? A texture that’s airy yet moist, a flavor that balances the bright acidity of fresh strawberries with the buttery richness of the sponge, and a cream that’s so light it practically floats.
And now, the kicker: I’m going to reveal the tiny pinch of cream of tartar that stabilizes the egg whites, giving you that perfect rise without a single crack. Okay, ready for the game‑changer? Let me walk you through every single step — by the end, you’ll wonder how you ever made it any other way.
What Makes This Version Stand Out
- Flavor Fusion: Fresh strawberries are folded into both the sponge batter and the whipped cream, creating a harmonious strawberry‑butter duet that sings with every bite.
- Texture Triumph: The sponge stays feather‑light thanks to the cream of tartar‑stabilized egg whites, while the cream layer offers a silk‑smooth contrast that melts like butter on warm toast.
- Simplicity: Only twelve pantry staples are needed, and the technique is straightforward enough for a weekend rookie yet refined enough to impress a seasoned baker.
- Unique Ingredient: Strawberry‑infused milk adds hidden moisture and a subtle fruit note without making the batter soggy.
- Crowd Reaction: Guests usually ask for the recipe within five minutes of the first forkful, and the “I dare you to taste this and not go back for seconds” challenge becomes a party staple.
- Make‑Ahead Magic: The cake can be assembled a day ahead; the flavors actually deepen, and the sponge stays fresh when stored in an airtight container.
- Ingredient Quality: Using ripe, fragrant strawberries and real butter (never margarine) makes the difference between “good” and “hands down the best version you’ll ever make at home.”
- Cooking Method: A gentle, low‑heat bake prevents the edges from over‑browning, ensuring an even crumb that pulls away cleanly from the pan.
Inside the Ingredient List
The Flavor Base
All‑purpose flour provides the structural backbone of the cake. It’s the canvas on which the butter, sugar, and leavening agents paint their flavors. If you swap it for cake flour, the crumb becomes even softer, but you’ll need to adjust the liquid slightly to keep the batter from becoming too thin.
The Sweet Symphony
Granulated sugar not only sweetens but also helps create a tender crumb by inhibiting gluten formation. For a slightly caramelized note, you can replace half the sugar with light brown sugar; just remember the color will deepen, giving the sponge a warm amber hue.
The Texture Crew
Butter, softened to room temperature, coats the flour particles, creating a short‑bread like tenderness. Unsalted is preferred so you can control the salt level precisely. If you’re dairy‑free, a high‑quality plant‑based butter works, but the flavor will shift subtly toward the nutty side.
The Unexpected Star
Strawberry‑infused milk is the secret weapon. By pureeing fresh strawberries and straining the juice into warm milk, you inject a natural fruit essence that keeps the sponge moist without adding extra liquid weight. This step is what separates a “good” strawberry cake from an “oh‑my‑god‑this‑is‑perfect” masterpiece.
The Final Flourish
Heavy cream, whipped with a dash of powdered sugar and a whisper of vanilla, becomes the luxurious frosting that crowns the cake. It’s the silky bridge between the airy sponge and the bright strawberry jam that adds a glossy finish. If you prefer a tangier bite, fold a spoonful of cream cheese into the whipped cream for a subtle cheesecake twist.
Everything's prepped? Good. Let's get into the real action...
The Method — Step by Step
Preheat your oven to 350°F (175°C) and line a 9‑inch round cake pan with parchment paper, then lightly butter the paper. The heat should be steady; any fluctuation can cause the sponge to dome unevenly. While the oven warms, give the parchment a gentle pat to ensure it adheres flat—no air pockets.
Picture yourself pulling this out of the oven, the whole kitchen smelling incredible, and you’ll understand why this temperature is crucial: it’s hot enough to set the structure quickly, yet gentle enough to keep the crumb airy.
In a medium bowl, whisk together 2 cups of flour, 1 tsp baking powder, ½ tsp baking soda, and ¼ tsp salt. This dry mix should be aerated for about 30 seconds; you’ll see fine clouds of flour that signal even distribution of leavening agents.
That sizzle when it hits the pan? Absolute perfection. The leaveners will later create tiny air pockets that give the cake its signature lift.
In a large mixing bowl, cream ½ cup softened butter with 1 cup granulated sugar until the mixture is pale and fluffy—think “cloud” not “candy”. This takes about 4–5 minutes on medium speed; the sugar will dissolve, creating a glossy texture.
If you’re using a hand mixer, keep the beaters moving in a figure‑eight motion to incorporate air evenly.
Add 3 large eggs one at a time, beating well after each addition. The eggs act as emulsifiers, binding the butter and milk into a smooth batter. Follow each egg with a splash of ½ cup strawberry‑infused milk and 1 tsp vanilla extract.
Watch out: if the batter looks curdled, keep beating—eventually it will smooth out as the butter, sugar, and liquid emulsify.
Gently fold the dry flour mixture into the wet batter using a spatula. The motion should be a slow, deliberate “lift‑and‑turn” that preserves the air you just whipped into the eggs. You’ll notice the batter becoming slightly thick but still pourable.
This is the moment of truth: if the batter is too stiff, add a tablespoon of milk; if it’s too runny, sprinkle a little extra flour.
Fold in 1 cup diced fresh strawberries, distributing them evenly without crushing the fruit. The berries should stay whole, creating little bursts of flavor when you bite into the cake.
Okay, ready for the game‑changer? The strawberries not only flavor the sponge but also release a gentle moisture during baking, keeping the crumb tender.
Pour the batter into the prepared pan, smoothing the top with an offset spatula. Tap the pan lightly on the counter three times to release any trapped air bubbles.
The edges will start pulling away from the sides of the pan after about 20 minutes—this is your cue that the cake is rising beautifully.
Bake for 30–35 minutes, or until a toothpick inserted into the center comes out clean and the top is a light golden‑brown. The cake should spring back lightly when you press the center with a fingertip.
Don’t walk away from the stove here; a quick peek at the 25‑minute mark will let you gauge how quickly the edges are browning.
While the cake cools in the pan for 10 minutes, whip 1 cup heavy cream with 2 tbsp powdered sugar and a pinch of salt until soft peaks form. Then, gently fold in ½ cup strawberry jam and a splash of vanilla for extra depth.
This next part? Pure magic. The whipped cream becomes airy and glossy, coating the cake like a silky veil.
Turn the cake onto a wire rack, peel off the parchment, and slice horizontally to create two even layers. Spread a generous layer of the strawberry‑whipped cream on the bottom, then place the top layer and finish with a swirl of the remaining cream around the sides.
If you’re feeling extra, drizzle a thin ribbon of strawberry jam over the top for a glossy finish that catches the light.
Refrigerate the assembled cake for at least 1 hour before serving. This rest period allows the flavors to meld, and the sponge to absorb a whisper of the cream, resulting in a harmonious bite.
And now the fun part: garnish with fresh strawberry halves, a dusting of powdered sugar, and maybe a few mint leaves for a pop of color.
That's it — you did it. But hold on, I've got a few more tricks that'll take this to another level...
Insider Tricks for Flawless Results
The Temperature Rule Nobody Follows
Always bring your butter, eggs, and milk to room temperature before you start. Cold ingredients cause the batter to seize, leading to a dense crumb. I once tried a shortcut by using straight‑out‑of‑the‑fridge butter; the cake turned out flat and rubbery. Trust me, a 15‑minute sit on the counter makes a world of difference.
Why Your Nose Knows Best
When the cake is near the end of its bake, open the oven door briefly and inhale. You should smell a sweet, buttery aroma with a faint hint of strawberries. If the scent is still raw or floury, give it another 3‑5 minutes. Your nose is a more reliable timer than any digital clock.
The 5‑Minute Rest That Changes Everything
After removing the cake from the oven, let it rest in the pan for exactly five minutes before turning it out. This short pause lets the steam finish cooking the interior gently, preventing a soggy bottom. Skip this step and you’ll notice a gummy texture at the base.
The Cream Whisper
When whipping the cream, start on low speed and gradually increase to medium‑high. This prevents the cream from splattering and helps you achieve a stable peak. Add the powdered sugar only after soft peaks form; this timing ensures the sugar dissolves completely, avoiding grainy spots.
The Strawberry Swap
If fresh strawberries are out of season, frozen berries work just as well—just thaw and drain them thoroughly. The flavor intensity remains, and the frozen berries release a little extra juice that can be reduced on the stovetop to a thick coulis for drizzling.
The Final Chill
Before slicing, chill the assembled cake for at least 30 minutes. This firms up the whipped cream, making clean slices without the frosting sliding off. A friend tried cutting immediately and ended up with a mess of cream spilling everywhere—lesson learned!
Creative Twists and Variations
This recipe is a playground. Here are some of my favorite ways to switch things up:
Lemon‑Berry Burst
Swap half of the strawberries for fresh raspberries and add 1 tbsp lemon zest to the batter. The citrus lifts the berry flavor, creating a bright, tangy bite that’s perfect for summer picnics.
Chocolate‑Covered Dream
Replace ¼ cup of flour with cocoa powder and fold in mini chocolate chips. Top the finished cake with a glossy chocolate ganache for a decadent contrast between bitter chocolate and sweet strawberry.
Almond‑Infused Elegance
Add ¼ cup almond flour to the dry mix and substitute half the butter with almond butter. Garnish with sliced toasted almonds for a nutty crunch that pairs beautifully with the fruit.
Vegan Velvet
Swap dairy butter for coconut oil, use oat milk infused with strawberries, and replace eggs with a flax‑egg mixture (1 tbsp ground flaxseed + 3 tbsp water per egg). The result is a plant‑based sponge that still rises beautifully.
Coffee‑Kissed Delight
Add 1 tsp instant espresso powder to the wet ingredients and drizzle a coffee‑infused strawberry glaze over the top. The subtle bitterness balances the sweetness, making it a hit for brunch lovers.
Storing and Bringing It Back to Life
Fridge Storage
Cover the cake loosely with plastic wrap and store it in the refrigerator for up to 3 days. The whipped cream stays firm, and the sponge retains moisture thanks to the strawberry jam layer.
Freezer Friendly
Wrap each slice individually in parchment paper, then place them in a zip‑top freezer bag. They’ll keep for up to 2 months. To serve, let a slice sit at room temperature for 15 minutes, then give it a quick 30‑second zap in the microwave to revive the softness.
Best Reheating Method
When you want to enjoy a warm slice, preheat your oven to 300°F (150°C) and bake the slice for 8‑10 minutes. Add a tiny splash of water to the plate before heating; the steam will bring the cake back to its original fluffiness without drying it out.