I was standing in my kitchen, half‑asleep, with a half‑baked apple pie that had somehow turned into a charcoal sculpture. My roommate walked in, sniffed the burnt mess, and dared me, “If you can turn that disaster into something edible, I’ll buy you coffee for a week.” I laughed, rolled up my sleeves, and thought, why not? That moment sparked a relentless quest for the ultimate dessert that could survive a scorching oven and still taste like a cloud of caramel‑kissed heaven. I dove into the world of Basque burnt cheesecake, a deceptively simple cake that hides a fierce, caramelized crust beneath a silky, almost custard‑like interior.
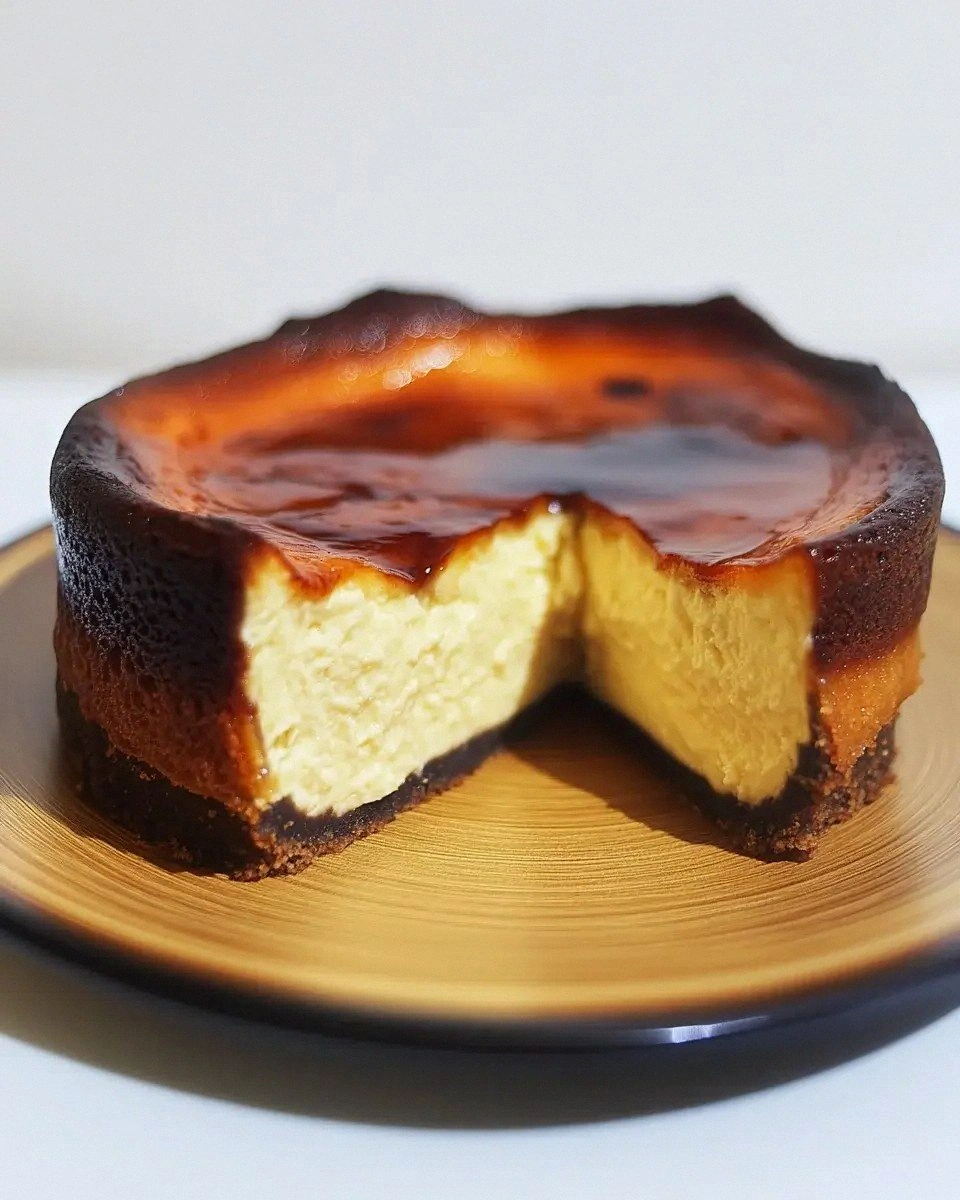
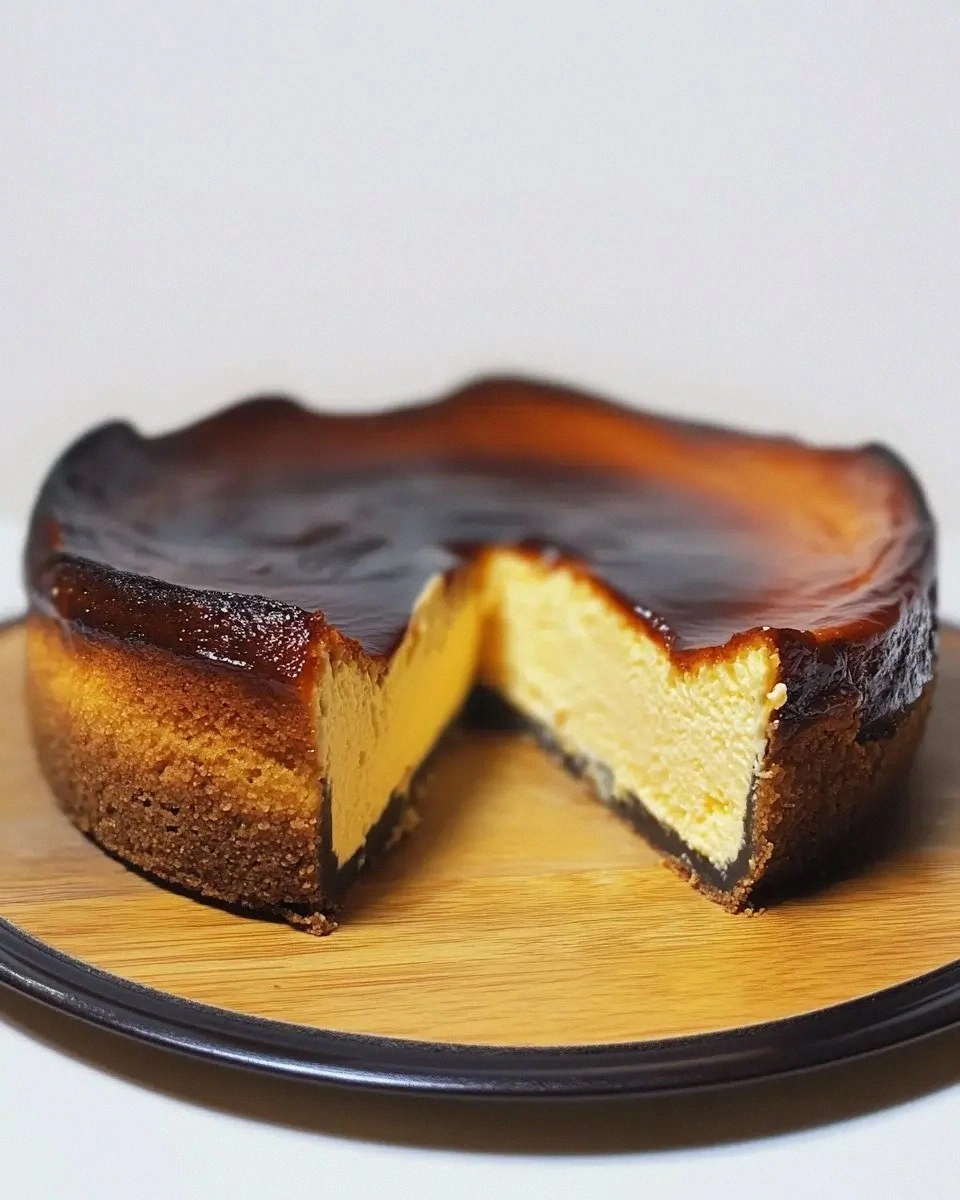
Picture this: the oven door swings open, and a faint, sweet‑smoke perfume wafts through the kitchen, hugging the walls like a warm blanket. The top of the cake is a deep amber, cracked and slightly blistered, while the edges pull away from the pan, revealing a creamy golden center that jiggles just enough to make you think of a luxurious mousse. When you cut a slice, the contrast is immediate—the crackling crust gives way to a soft, buttery interior that melts on your tongue, leaving a lingering note of vanilla that whispers, “stay awhile.” I dare you to taste this and not go back for seconds.
Most recipes get this completely wrong. They either over‑bake, turning the whole thing into a dry brick, or they under‑bake, leaving a soupy mess that slides off the plate. The secret to this version is a precise balance of high heat and a short bake, which creates that signature burnt top while keeping the middle luxuriously soft. I’ll be honest — I ate half the batch before anyone else got to try it, because the aroma alone was enough to make my stomach growl louder than a hungry bear. This is hands down the best version you’ll ever make at home, and it’s surprisingly simple.
Okay, ready for the game‑changer? The twist that sets this recipe apart is the addition of a splash of whipping cream and a whisper of flour (or cornstarch) that stabilizes the custard without compromising its melt‑in‑your‑mouth texture. No fancy equipment, no complicated steps—just a few pantry staples and a trusty oven. Let me walk you through every single step — by the end, you’ll wonder how you ever made it any other way.
What Makes This Version Stand Out
- Flavor Explosion: The caramelized top delivers a smoky sweetness that dances with the subtle vanilla undertone, creating a symphony of taste that feels both rustic and refined.
- Texture Contrast: A crisp, almost brittle crust meets a buttery, custard‑like core that jiggles just enough to be spooned, not cut, for that perfect mouthfeel.
- Simplicity: Only six core ingredients are needed, meaning you spend less time shopping and more time daydreaming about the first bite.
- Unique Burnt Look: The dramatic, darkened top looks like a work of art—perfect for Instagram without any extra effort.
- Crowd Reaction: Guests often ask, “Did you burn this on purpose?” and the answer is a proud, “Absolutely.” The reaction is always priceless.
- Ingredient Quality: Using high‑fat cream cheese and real vanilla extract makes the flavor richer than any boxed mix could ever achieve.
- Cooking Method: High heat for a short time creates a caramelized crust while preserving the interior’s creaminess—no water bath needed.
- Make‑Ahead Potential: This cheesecake actually improves after a night in the fridge; the flavors meld and the texture firms just enough for perfect slicing.
Alright, let's break down exactly what goes into this masterpiece...
Inside the Ingredient List
The Flavor Base
The star of the show is the cream cheese. At 400 grams, it provides the rich, tangy backbone that defines a cheesecake. Choose a full‑fat, block‑style cream cheese; it melts smoothly and yields that velvety texture. If you grab a low‑fat version, expect a drier, less luxurious crumb. A quick tip: let the cheese sit at room temperature for 30 minutes before mixing—this prevents lumps and ensures a silky batter.
Next up, castor sugar (180 grams). This fine, white sugar dissolves quickly, giving the batter a uniform sweetness without grainy pockets. You can swap it for superfine or even a blend of brown sugar for a deeper caramel note, but keep the quantity the same to maintain the delicate balance.
The Texture Crew
Eggs—three medium‑sized—act as the structural glue, holding the creamy mixture together while allowing it to puff just enough during the high‑heat bake. Fresh eggs are crucial; older eggs can cause a grainy texture. If you’re allergic, a combination of silken tofu and a dash of xanthan gum can mimic the binding power, though the flavor will shift slightly.
Whipping cream (200 milliliters) adds fat and moisture, ensuring the interior stays buttery soft. The higher the fat content, the richer the final product. If you’re watching calories, you can replace half of the cream with whole milk, but the texture will be a touch less indulgent.
Vanilla extract (1 teaspoon) is the aromatic whisper that elevates the whole cake. Use pure vanilla extract, not imitation, for a clean, fragrant finish. A splash of bourbon or a pinch of almond extract can add an adult twist, but don’t overdo it—your palate will thank you.
The Unexpected Star
A tablespoon of flour or cornstarch stabilizes the custard, preventing it from cracking apart when you slice. Cornstarch yields a silkier mouthfeel, while flour gives a slightly firmer bite. If you’re gluten‑free, stick with cornstarch; the results are indistinguishable from the original.
The Final Flourish
A pinch of salt (optional, but recommended) enhances the sweetness and deepens the caramel notes. It’s a tiny ingredient that makes a massive difference—think of it as the conductor of an orchestra, ensuring every flavor hits the right note.
Everything's prepped? Good. Let's get into the real action...
The Method — Step by Step
Preheat your oven to a blistering 220 °C (425 °F). Place a heavy-duty roasting pan on the middle rack and fill it with hot water to create a makeshift steam bath. This step might sound like overkill, but the steam helps the cake rise evenly while the scorching top caramelizes. Let the oven roar for at least 10 minutes before you even think about sliding the pan in.
Kitchen Hack: If you don’t have a roasting pan, a deep baking sheet works—just make sure the water doesn’t splash onto the cheesecake batter.While the oven heats, line a 20‑cm (8‑inch) springform pan with parchment paper, allowing the paper to overhang the sides by about 2 inches. This overhang will act as a handle for easy removal later. Lightly butter the parchment; the butter adds a thin layer of flavor and helps the paper cling to the batter.
In a large mixing bowl, whisk together the softened cream cheese and castor sugar until the mixture is smooth and pale. This should take about 2‑3 minutes on medium speed—don’t rush, because any lumps will become visible after baking. The mixture should look glossy, like a well‑polished marble surface.
Add the eggs one at a time, whisking after each addition. You’ll notice the batter thickening and then loosening slightly; that’s the emulsification process that gives the cake its silky texture. Once all three eggs are incorporated, the mixture should be glossy and slightly airy.
Stir in the whipping cream, vanilla extract, and a pinch of salt. The batter will become looser—this is intentional. It’s this fluidity that allows the top to form that signature crackle. If you feel the batter is too thin, a quick whisk of the flour or cornstarch will bring it back to a pourable consistency without making it gummy.
Pour the batter into the prepared springform pan, smoothing the top with a spatula. The batter should sit about an inch below the parchment edge. At this point, you might hear a faint sizzle as the batter meets the hot pan—this is the first sign that the crust will caramelize beautifully.
Slide the pan into the preheated oven, positioning it on the middle rack directly above the water‑filled roasting pan. Bake for exactly 30 minutes. You’ll know it’s done when the top is a deep, dark amber, almost black at the edges, and the center still jiggles like a well‑shaken gelatin. The smell will shift from sweet to a toasty, almost burnt aroma—trust that scent; it’s the hallmark of a perfect Basque cheesecake.
Watch Out: Opening the oven door early can cause the top to lose its caramelized crust; resist the temptation to peek.When the timer dings, remove the pan from the oven and let it sit in the cooling rack for 15 minutes. During this time, the interior continues to set while the crust hardens further. If you’re impatient, you can gently tap the pan to release any steam, but don’t disturb the top.
After the brief rest, run a thin knife around the edge of the parchment to loosen the cake, then carefully remove the springform side. Slide the parchment overhand onto a serving plate. The overhanging paper makes for a dramatic presentation—just lift the cake with the paper and set it down, allowing the burnt top to shine.
Let the cheesecake cool completely to room temperature before refrigerating. This cooling period is crucial; it allows the interior to firm up without becoming rubbery. Once cooled, cover loosely with foil and refrigerate for at least 2 hours, though overnight is ideal. When you finally slice, use a hot, wet knife for clean cuts—the heat cuts through the crust like a hot knife through butter.
That's it — you did it. But hold on, I've got a few more tricks that'll take this to another level...
Insider Tricks for Flawless Results
The Temperature Rule Nobody Follows
Most home bakers think a lower temperature equals a gentler bake, but for a burnt cheesecake you want that searing heat. Keep the oven at 220 °C (425 °F) for the full 30 minutes. If your oven runs hot, set a timer for 25 minutes and check the color; you want a dark caramel hue, not a blackened disaster. Trust the visual cue more than the clock.
Why Your Nose Knows Best
The moment the top starts to smell like toasted marshmallows, you’re on the right track. That toasty, slightly bitter aroma signals the Maillard reaction is happening, creating the signature burnt flavor. If you notice a sugary, almost burnt sugar smell, resist the urge to pull it out early; the interior still needs those final minutes to set.
The 5‑Minute Rest That Changes Everything
After the bake, let the cheesecake rest on the counter for exactly five minutes before moving it to the fridge. This short pause allows the crust to firm up, preventing it from cracking when you transfer the pan. Skipping this step often results in a crust that flops off like a soggy pancake.
The Secret of the Parchment Overhang
Leaving the parchment to hang over the sides isn’t just for aesthetics. It acts as a natural “handle,” letting you lift the cake without disturbing the delicate top. When you finally serve, the overhang also creates a rustic edge that looks intentional, not accidental.
Cold‑Water Bath for the Perfect Slice
If you’re serving the cheesecake straight from the fridge, dip the knife in ice‑cold water before each cut. The cold blade slices cleanly through the firm crust while the interior stays creamy, giving you picture‑perfect wedges every time. A friend once tried a hot knife and ended up with a mushy mess—don’t be that friend.
Flavor Boost with a Pinch of Sea Salt
Just before serving, sprinkle a tiny pinch of flaky sea salt over each slice. The salt amplifies the caramel notes and adds a subtle crunch that contrasts the soft interior. It’s a tiny detail that makes the dessert feel restaurant‑grade.
Creative Twists and Variations
This recipe is a playground. Here are some of my favorite ways to switch things up:
Coffee‑Infused Burnt Cheesecake
Replace half of the whipping cream with strong brewed espresso and add a teaspoon of instant coffee granules. The result is a deep, mocha‑kissed crust that pairs beautifully with the caramelized top. Coffee lovers will swear it’s the perfect after‑dinner pick‑me‑up.
Citrus Zest Surprise
Add the zest of one orange or lemon to the batter for a bright, aromatic lift. The citrus cuts through the richness, making the dessert feel lighter. Serve with a dollop of whipped cream flavored with a hint of orange liqueur for extra pizzazz.
Berry‑Swirl Delight
Fold in ½ cup of pureed fresh raspberries or strawberries just before pouring the batter into the pan. The fruit swirls create pockets of tangy burst that contrast the sweet, burnt crust. This version looks gorgeous when sliced, revealing pink ribbons.
Nutty Crunch Variation
Stir in ¼ cup of finely chopped toasted almonds or hazelnuts into the batter. The nuts add a subtle crunch that survives the high heat, giving each bite a delightful textural surprise. A drizzle of honey on top enhances the nutty flavor.
Spiced Autumn Edition
Mix in a pinch of ground cinnamon, nutmeg, and a dash of clove for a warm, cozy version that’s perfect for fall gatherings. Pair it with a caramel sauce and a scoop of vanilla ice cream for an indulgent dessert board.
Storing and Bringing It Back to Life
Fridge Storage
Cover the cheesecake loosely with parchment or foil and store it in an airtight container. It will keep fresh for up to 5 days. The crust may lose a bit of its crispness, but a quick re‑warm in a low oven (150 °C) for 5 minutes revives the caramelized edge.
Freezer Friendly
Slice the cheesecake before freezing, then wrap each slice in plastic wrap followed by a foil sheet. Freeze for up to 2 months. When you’re ready to serve, let the slice thaw in the fridge overnight, then let it sit at room temperature for 20 minutes before plating.
Best Reheating Method
To bring a refrigerated slice back to its glory, place it on a baking sheet, add a tiny splash (about 1 tablespoon) of water around the edges, and heat in a 160 °C oven for 8‑10 minutes. The steam created by the water re‑hydrates the crust, making it crisp again while keeping the interior luxuriously soft.