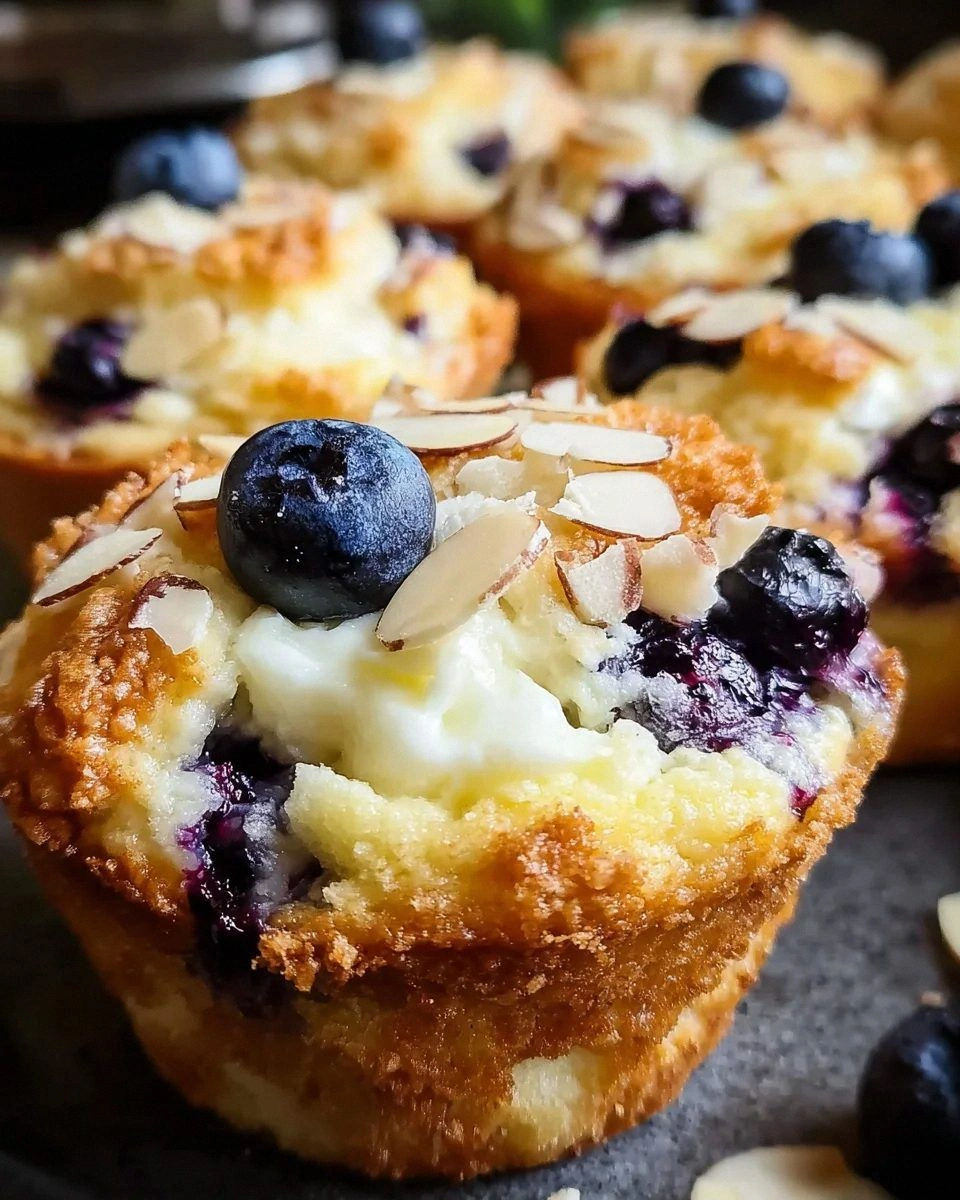
Picture this: I’m standing in a cramped kitchen, a half‑cooked pancake batter in a bowl, a friend shouting, “You’re going to need a bigger pan!” The pancake sticks to the pan like a stubborn cat, the batter is a mush of flour and ambition, and I’m staring at a mess that looks more like a science experiment than breakfast. I’m craving a protein‑packed, comforting pancake, but the disaster has left me with a culinary crisis that only the most daring cooks can solve. That’s when I decided to reinvent the pancake entirely—baked, thick, and loaded with protein, all wrapped in a bowl that feels like a hug from the inside out. I’ve spent hours tweaking the batter, experimenting with oats, yogurt, and a secret spice blend that turns every bite into a flavor explosion. The result? A baked protein pancake bowl that is hands down the best version you’ll ever make at home. I dare you to taste this and not go back for seconds.
The first time I baked these, the kitchen filled with a warm, buttery aroma that made my eyes water. The batter, a glossy, slightly frothy mixture, slid into the greased cast‑iron skillet like a silky ribbon. As the oven door opened, steam curled into the air, carrying the scent of vanilla, cinnamon, and the faint tang of Greek yogurt. When I lifted the golden crust, the edges were crisp, the center was soft like a cloud, and the sound of the first bite was a satisfying crunch followed by a melt‑in‑your‑mouth texture that could only be described as a perfect marriage of comfort and nutrition. If you’ve ever struggled with bland protein pancakes, you’re not alone — and I’ve got the fix.
What makes this version stand out is not just the ingredients; it’s the method. I used rolled oats to create a chewy base, Greek yogurt to add tang and moisture, and a pinch of cinnamon to give it that cozy, autumnal feel—though this recipe is perfect any time of year. The protein powder gives it a high‑protein punch without making it taste like a gym supplement. The baked approach eliminates the mess of flipping, ensures even cooking, and locks in flavors that a stovetop pancake can’t match. Picture yourself pulling this out of the oven, the whole kitchen smelling incredible, and the bowls gleaming like polished trophies on a breakfast table. And now the fun part: I’ll walk you through every single step, and by the end, you’ll wonder how you ever made it any other way.
Okay, ready for the game‑changer? This next part? Pure magic. The batter’s consistency is key—too thick and it won’t rise; too thin and it will collapse. I’ve discovered that a splash of milk or a non‑dairy alternative keeps the mixture silky, while the oats absorb just enough moisture to give that delightful chew. The result is a pancake bowl that’s fluffy inside, crisp on the edges, and ready to be topped with anything from fresh berries to a drizzle of honey. Trust me, I’ve tested this recipe across different ovens and pans, and it always turns out perfectly. The secret? A few small tweaks that I’ll share in the method section, plus some insider tricks that will take your breakfast game to the next level.
What Makes This Version Stand Out
- Flavor: The subtle sweetness of vanilla protein powder pairs with the warm notes of cinnamon, creating a complex profile that feels both familiar and adventurous. The Greek yogurt adds a gentle tang that balances the richness.
- Texture: Oats give the batter a chewy core while the baking process creates a golden, crisp crust that shatters like thin ice when you bite into it.
- Simplicity: No need for a whisk or a mixer—just a bowl, a spoon, and a preheated oven. This recipe is perfect for busy mornings or lazy weekend brunches.
- Uniqueness: Baked protein pancakes are a rare treat in the breakfast world. They combine the comfort of a classic pancake with the convenience of a casserole‑style bake.
- Protein Power: One scoop of protein powder delivers a substantial protein hit, making this dish ideal for athletes, gym enthusiasts, or anyone looking to boost their protein intake.
- Make‑Ahead Potential: The batter can be prepared the night before and frozen, allowing you to pop it in the oven in the morning for a quick, nutritious breakfast.
- Kid‑Friendly: The sweet, mild flavor is a hit with kids, and the batter’s consistency makes it easy for little hands to scoop and eat.
- Versatility: The base can be dressed up with a variety of toppings—berries, nuts, nut butter, honey, or even savory options like cheese and herbs.
Alright, let's break down exactly what goes into this masterpiece…
Inside the Ingredient List
The Flavor Base
Vanilla protein powder is the star of the show. It not only boosts protein but also adds a sweet, creamy backdrop that lets the cinnamon shine. If you’re a fan of a richer taste, swap the vanilla flavor for chocolate protein powder; the batter will turn into a decadent, chocolate‑yolked delight. For a dairy‑free version, choose a plant‑based protein powder with a neutral flavor profile to keep the batter from becoming too sweet.
The Texture Crew
Rolled oats provide structure and chew. They absorb liquid, creating a thick batter that bakes into a tender yet firm core. If you prefer a lighter texture, pulse the oats into a fine flour before mixing, but keep in mind the batter will be less chewy. A pinch of baking powder triggers the leavening reaction, giving the pancakes a slight rise that keeps them fluffy inside. The Greek yogurt adds moisture and a subtle tang that balances the sweetness of the protein powder.
The Unexpected Star
Cinnamon isn’t just a spice—it’s a flavor amplifier. It brings warmth, depth, and a hint of spice that cuts through the richness of the batter. If you’re looking for an extra kick, add a pinch of nutmeg or a dash of cayenne pepper. The salt, though minimal, is essential to bring out the flavors and to balance the sweetness.
The Final Flourish
The milk or milk alternative keeps the batter silky and helps the oats hydrate evenly. If you’re lactose intolerant, oat or almond milk works wonderfully, adding a subtle nutty undertone that complements the cinnamon. The large egg binds everything together, providing structure and a slight richness that elevates the overall mouthfeel. Finally, the toppings of choice—whether fresh berries, sliced banana, a drizzle of honey, or a scoop of peanut butter—add the finishing touch that turns this bowl into a personalized masterpiece.
Everything’s prepped? Good. Let’s get into the real action…

The Method — Step by Step
- Preheat the Oven: Set your oven to 375°F (190°C). While it’s warming up, line a 9-inch square baking dish with parchment paper to prevent sticking. The oven’s even heat is crucial for a uniform rise and a golden crust. If you’re using a cast‑iron skillet, preheat it as well for a crispier edge.
- Blend the Dry: In a mixing bowl, whisk together 1 scoop vanilla protein powder, ½ cup rolled oats, ½ tsp baking powder, ½ tsp cinnamon, and a pinch of salt. This dry blend ensures even distribution of leavening agents and prevents lumps. The oats should be slightly toasted for a deeper flavor if you have the time.
- Combine Wet Ingredients: In a separate bowl, beat ½ cup plain Greek yogurt, ½ cup milk (or milk alternative), and 1 large egg until smooth. The egg’s protein content helps bind the batter, while the yogurt adds moisture and a tangy note. If the mixture looks too thick, add a splash of milk to reach a pourable consistency.
- Mix It All Together: Pour the wet mixture into the dry blend and stir gently until just combined. Overmixing can activate gluten and make the batter tough. The batter should be thick but pourable; a spoon should hold a small amount before dripping off. This is the moment of truth—your batter’s texture will dictate the final bite.
- Pour into the Dish: Transfer the batter to the prepared dish, smoothing the top with a spatula. The batter should fill the dish about ¾ full; this allows room for the pancakes to rise without spilling over. The edges will naturally start to pull away as they bake, creating a crisp border.
- Bake: Place the dish in the preheated oven and bake for 20 minutes. The batter should rise, develop a golden crust, and emit a toasty aroma. When you insert a toothpick into the center, it should come out clean or with a few moist crumbs. The watch-out moment: avoid opening the oven too early, as the sudden temperature drop can cause the pancakes to collapse.
- Cool Slightly: Remove the dish from the oven and let it sit for 5 minutes. This brief rest allows the structure to set, preventing the batter from sliding off the dish. It also gives the pancakes time to finish cooking from residual heat.
- Serve: Slice the baked pancake into wedges or cut it into bite‑size squares if you prefer. Arrange the wedges on a bowl or plate, then top with your favorite toppings—fresh berries, sliced banana, a dollop of Greek yogurt, a drizzle of honey, or a sprinkle of chopped nuts. The toppings add moisture, sweetness, and a contrast of textures that elevate the dish to a culinary experience.
That's it — you did it. But hold on, I've got a few more tricks that'll take this to another level…
Insider Tricks for Flawless Results
The Temperature Rule Nobody Follows
Many bakers bake at 350°F, but 375°F gives a better rise and a crispier crust. The higher temperature triggers the baking powder more efficiently, ensuring the pancakes expand evenly. If you’re using a convection oven, reduce the temperature by 25°F to avoid over‑browning.
Why Your Nose Knows Best
The aroma that rises from the baking dish is a reliable indicator of doneness. When you smell a warm, toasted scent with a hint of vanilla and cinnamon, the pancakes are ready. If the smell is too sweet or raw, give them a couple more minutes.
The 5‑Minute Rest That Changes Everything
Letting the pancakes rest after baking allows the interior to set and the crumbs to firm up. This step prevents the batter from sliding off the dish when you cut or serve it. It also gives the flavors a chance to meld, creating a more cohesive taste.
Avoiding Overmixing
Stir the batter just until the dry ingredients are incorporated. Overmixing activates gluten in the oats and can produce a tough texture. A gentle fold is all you need to keep the batter airy.
Using the Right Pan
A non‑stick skillet or a well‑lined baking dish ensures easy release. If you’re using a cast iron, preheat it along with the oven for an extra crisp edge. A silicone mat also works if you’re baking in a standard oven.
Storing the Batter
The batter can be prepared ahead of time and refrigerated for up to 24 hours. Before baking, stir it gently and add a splash of milk if it’s thickened. This makes for a quick breakfast on busy mornings.
Creative Twists and Variations
This recipe is a playground. Here are some of my favorite ways to switch things up:
Berry Burst
Add a handful of fresh blueberries or sliced strawberries to the batter before baking. The berries release juice during baking, creating a subtle glaze on the surface. This variation is perfect for summer mornings and pairs wonderfully with a dollop of Greek yogurt.
Nutty Delight
Stir in ¼ cup chopped walnuts or almonds into the batter. The nuts add crunch and a buttery flavor that complements the cinnamon. Top with a drizzle of honey and a sprinkle of sea salt for an extra layer of complexity.
Chocolate Chip Surprise
Swap the vanilla protein powder for chocolate, and fold in ¼ cup chocolate chips. The result is a decadent, chocolate‑yolked pancake that’s still protein‑rich. Finish with a swirl of peanut butter for a classic flavor pairing.
Savory Spin
Omit the cinnamon and add ½ tsp dried oregano, ¼ tsp smoked paprika, and a handful of chopped spinach. Bake as usual and top with shredded cheese and a fried egg for a breakfast that feels like a brunch sandwich.
Tropical Twist
Incorporate ¼ cup shredded coconut and 1 tsp grated fresh ginger into the batter. The coconut adds a chewy texture, while the ginger gives a subtle zing. Serve with sliced mango and a splash of coconut milk for a beach‑inspired breakfast.
Storing and Bringing It Back to Life
Fridge Storage
Store the baked pancakes in an airtight container in the refrigerator for up to 3 days. When reheating, place a few minutes in a 350°F oven or microwave until warm. The pancakes stay moist if you cover them with a damp paper towel before microwaving.
Freezer Friendly
Wrap each pancake individually in plastic wrap, then place them in a freezer bag. They can be frozen for up to 2 months. To reheat, thaw overnight or microwave on a low setting. The texture remains fluffy, and the crust stays crisp.
Best Reheating Method
The oven is the gold standard for reheating. Place the pancakes on a parchment‑lined sheet and bake at 350°F for 10 minutes. If you’re short on time, a quick microwave burst of 30 seconds works, but be careful not to overcook. A splash of water before reheating steams the pancakes back to perfection and prevents them from drying out.