Picture this: I’m standing in a cramped kitchen, the air thick with the scent of onions sizzling in a pan, when the phone rings. My friend challenges me to whip up a comforting dish that can double as a crowd‑pleaser for a last‑minute dinner party. I stare at the fridge, eyes darting to the boxed pie crusts, the handful of frozen mixed vegetables, and the half‑cup of chicken broth. I’m ready to turn this chaos into culinary gold.
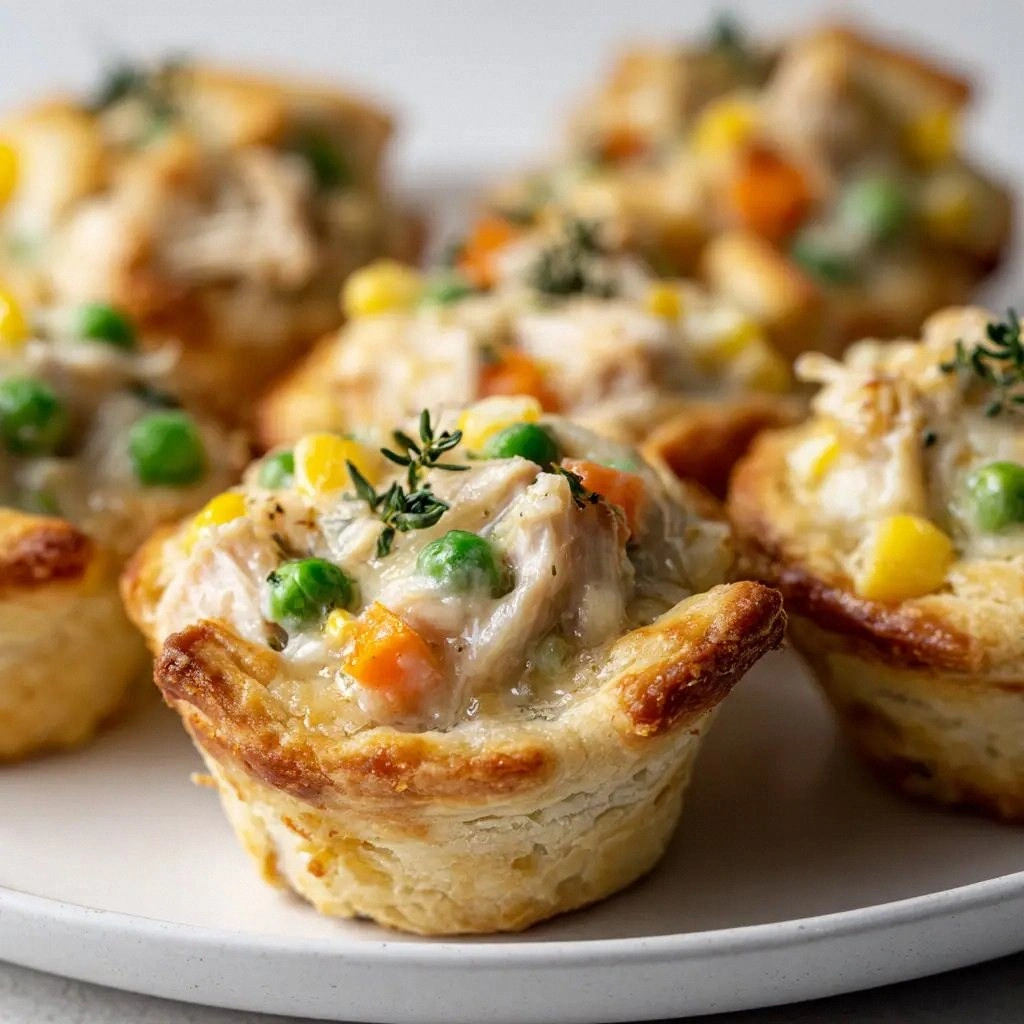
The first bite is a revelation—soft, buttery crust that crumbles like a memory of childhood, paired with a silky sauce that coats the filling like velvet. The vegetables pop with a fresh crunch, while the chicken adds a hearty, savory depth that feels like a warm hug. Every element sings, from the aromatic thyme to the subtle pepper that lingers on the palate. I swear, the steam rising from the tin is a fragrant promise of comfort, and I can’t help but grin at how easy it is to assemble.
I dare you to taste this and not go back for seconds. The secret? A buttery crust that’s quick to roll out, a roux that thickens without clumping, and the perfect balance of vegetables that keep the filling bright. Most recipes get this completely wrong, either by overcooking the veggies or under‑seasoning the sauce. But this version? Hands down the best you’ll ever make at home. And the best part? It’s a one‑pan, muffin‑tin wonder that saves you from a mountain of dishes.
If you’ve ever struggled with pie crusts that tear or sauces that are too thin, you’re not alone—and I’ve got the fix. Picture yourself pulling this out of the oven, the whole kitchen smelling incredible, and the guests already lining up for a second helping. The moment you crack the crust, the buttery aroma will fill the air, and you’ll know you’re about to create something memorable. Stay with me here — this is worth it. Let me walk you through every single step — by the end, you’ll wonder how you ever made it any other way.
What Makes This Version Stand Out
- Taste: The sauce is a silky, savory blanket that holds the chicken and veggies together, delivering a comforting flavor that feels like a hug from the inside. It’s not just salty; it’s seasoned to sing.
- Texture: The crust is crisp on top and tender underneath, giving a satisfying crunch that melts into the creamy filling. The frozen veggies stay firm, offering a bright pop that contrasts the sauce.
- Simplicity: With only a handful of pantry staples, this recipe is a no‑fuss, stress‑free solution that still feels gourmet. No need for fancy ingredients or advanced techniques.
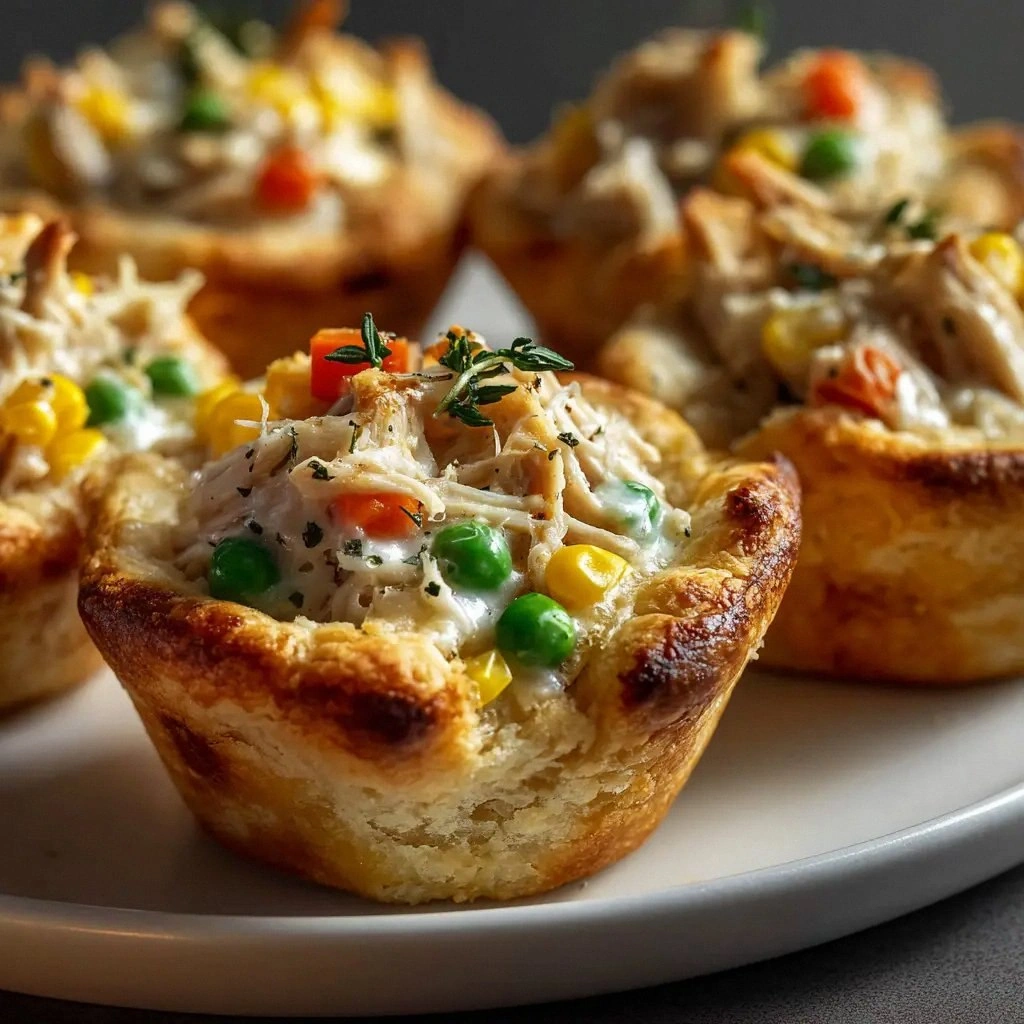
- Uniqueness: Muffin tin format turns a classic pot pie into a portable, individual‑serving masterpiece. It’s perfect for work lunches, school snacks, or a quick dinner.
- Crowd Reaction: Guests rave about the flaky crust and the “just right” amount of sauce. It’s a conversation starter that keeps the table buzzing.
- Ingredient Quality: Using refrigerated pie crusts saves time and ensures a buttery, flaky base without the labor of hand‑rolling dough.
- Cooking Method: The one‑pan, one‑tin approach means you can prep, cook, and serve with minimal cleanup, ideal for busy weeknights.
- Make‑Ahead Potential: Assemble in advance, refrigerate, and bake when ready—this dish keeps well and tastes even better the next day.
Alright, let's break down exactly what goes into this masterpiece…
Inside the Ingredient List
The Flavor Base
The roux—made from butter and flour—acts as the backbone of the sauce, thickening it while adding a nutty undertone. It’s the silent hero that keeps the filling from becoming a watery mess. Skipping it will leave your pot pie soggy and unappetizing. If you’re vegan, replace butter with a neutral oil and use a plant‑based milk; the texture remains silky.
The Texture Crew
The pie crusts are the outer shell that delivers that coveted crunch. The frozen mixed vegetables add bite and color, ensuring each bite has a different sensory experience. The chicken provides protein, making the dish hearty enough for a main course. If you’re looking for a low‑carb version, substitute the crust with almond flour crackers for a crunchy, gluten‑free exterior.
The Unexpected Star
The 1/4 cup of all‑purpose flour might seem ordinary, but it’s the secret to that glossy, velvety sauce that clings to the crust. It also helps the sauce set, so the filling stays in place when you cut into a muffin. If you’re gluten‑free, a gluten‑free flour blend works just as well; just keep an eye on the sauce’s thickness.
The Final Flourish
The dried thyme, salt, and pepper finish the dish with a subtle herbal note, tying all the flavors together. Thyme is a versatile herb that pairs beautifully with poultry and vegetables, adding depth without overpowering. A pinch of nutmeg or a splash of lemon juice can add a bright twist, but keep the original seasoning for the classic version.
Everything's prepped? Good. Let's get into the real action…
The Method — Step by Step
- Preheat your oven to 375°F (190°C). While the oven warms, line a 12‑cup muffin tin with the two refrigerated pie crusts, pressing them firmly into each cup. The crust should fit snugly, creating a perfect “cup” for the filling. If the crusts are too thick, gently roll them out with a rolling pin to match the tin’s diameter.
- In a medium saucepan, melt the 2 tablespoons of butter over medium heat until it foams. Add the finely diced 1/2 cup onion and 2 cloves of minced garlic. Sauté until the onion turns translucent and the garlic releases its aroma—about 3 minutes. The sizzle here is a sign that the base is ready to absorb the flour.
- Stir in the 1/4 cup of all‑purpose flour, whisking constantly to form a smooth roux. Cook for 1–2 minutes until the flour turns a light golden hue; this eliminates the raw taste and builds depth. Think of it as the glue that will bind the sauce to the crust.
- Gradually pour in the 3/4 cup of chicken broth while whisking vigorously to prevent lumps. The sauce should thicken and become glossy. Add the 2/3 cup of milk, and continue whisking until the mixture is silky and smooth. The sauce should coat the back of a spoon—if it’s too thin, let it simmer a bit longer.
- Fold in the 1.5 cups of cooked chicken and the 2 cups of frozen mixed vegetables. Sprinkle in 1/2 teaspoon of dried thyme, 1/2 teaspoon of salt, and 1/4 teaspoon of black pepper. Stir gently so the vegetables are evenly distributed, but avoid over‑mixing to keep the sauce from becoming watery.
- Divide the mixture evenly among the prepared muffin cups, filling each to the top of the crust. The filling should sit just below the crust line, creating a neat, uniform appearance. This also ensures even baking.
- Slide the muffin tin into the preheated oven and bake for 25–30 minutes, or until the crust is golden brown and the filling is bubbling. The edges should start pulling away slightly from the tin, signaling that the pie is ready. A quick check: the center should be firm, not liquid.
- Remove from the oven and let the muffins rest for 5 minutes. This allows the sauce to set, making it easier to serve. While they cool, you can plate them with a drizzle of fresh herbs or a dollop of sour cream for extra flair.
- Serve hot, and watch the steam rise like a comforting cloud. The first bite is a burst of buttery crust, creamy sauce, and savory chicken—each element perfectly balanced. Enjoy with a side of crisp salad or a warm loaf of bread.
That's it — you did it. But hold on, I've got a few more tricks that'll take this to another level. Trust me, a few small tweaks can elevate the dish from great to unforgettable.
Insider Tricks for Flawless Results
The Temperature Rule Nobody Follows
Many cooks bake at a high temperature, but the secret is a moderate 375°F (190°C). This allows the crust to brown evenly without burning the filling. If you’re using a convection oven, lower the temperature by 25°F to avoid over‑browning.
Why Your Nose Knows Best
As the pie bakes, the aroma will change from buttery to nutty to savory. Trust that smell; it’s the indicator that the crust is golden and the sauce is bubbling. A strong, buttery scent means you’re on the right track.
The 5‑Minute Rest That Changes Everything
Letting the muffins sit for 5 minutes after baking allows the sauce to thicken slightly, preventing a runny center when you cut into a piece. It also makes the crust less fragile, so you can lift the muffin without breaking the crust.
Use the Crust to Your Advantage
If you want a crispier top, place the muffin tin on a baking sheet and bake an additional 3–5 minutes. Keep a close eye, as the crust can go from golden to burnt quickly. This trick gives you that extra crunch that makes the dish irresistible.
The “Flavor Boost” Technique
A splash of white wine or a teaspoon of Dijon mustard added at step 4 enhances the sauce’s depth. The acidity cuts through the richness, balancing the butter and milk. Don’t overdo it; a little goes a long way.
Creative Twists and Variations
This recipe is a playground. Here are some of my favorite ways to switch things up:
Cheesy Chicken Pot Pie
Add 1 cup of shredded cheddar or mozzarella to the filling at step 5. The cheese melts into the sauce, creating a gooey, indulgent texture that pairs perfectly with the crust.
Herb‑Infused Veggie Boost
Swap the frozen mixed vegetables for a mix of roasted butternut squash, carrots, and parsnips. The natural sweetness complements the savory sauce, giving the pie a seasonal twist.
Spicy Kick
Add 1/4 teaspoon of crushed red pepper flakes or a dash of hot sauce at step 5. The heat balances the richness and adds a lively edge to each bite.
Mediterranean Flair
Replace the thyme with oregano and add 1/4 cup of sun‑dried tomatoes. The briny flavor of the tomatoes adds a burst of Mediterranean zest.
Breakfast Edition
Use leftover bacon, diced and folded into the filling at step 5. The smoky bacon adds depth, making this a hearty breakfast or brunch option.
Vegan Version
Replace butter with coconut oil, use a plant‑based milk, and substitute the chicken with tofu or tempeh. The sauce remains creamy, and the crust stays flaky.
Storing and Bringing It Back to Life
Fridge Storage
Cool the muffins to room temperature, then wrap them tightly in plastic wrap or place them in an airtight container. Store in the refrigerator for up to 3 days. The crust remains tender, and the filling stays moist.
Freezer Friendly
Wrap each muffin individually in foil, then place them in a freezer bag. Freeze for up to 2 months. When ready, thaw overnight in the fridge before reheating.
Best Reheating Method
Preheat the oven to 350°F (175°C). Place the muffins on a baking sheet and heat for 10–12 minutes, or until warm and the crust is crisp again. Add a tiny splash of water before reheating to create steam, which restores the sauce’s silky texture.
The final touch? Sprinkle fresh herbs or a drizzle of olive oil right before serving for a burst of freshness. This dish is not just a meal—it’s an experience that brings comfort and joy to any table.