I remember the night I tried to make a quick dinner and ended up with a kitchen disaster that could have been a plot twist in a cooking show. The skillet was a smoking furnace, the chicken had turned into a chewy slab of regret, and my taste buds were shouting for mercy. I stared at the mess and thought, “If I could turn this into something epic, I’d be the hero of my own culinary saga.” That’s when the idea hit me: why not marry the comforting sweetness of a cinnamon roll with the savory crunch of fried chicken? The result was a flavor explosion that felt like a hug from a grandma who’s also a daredevil chef.
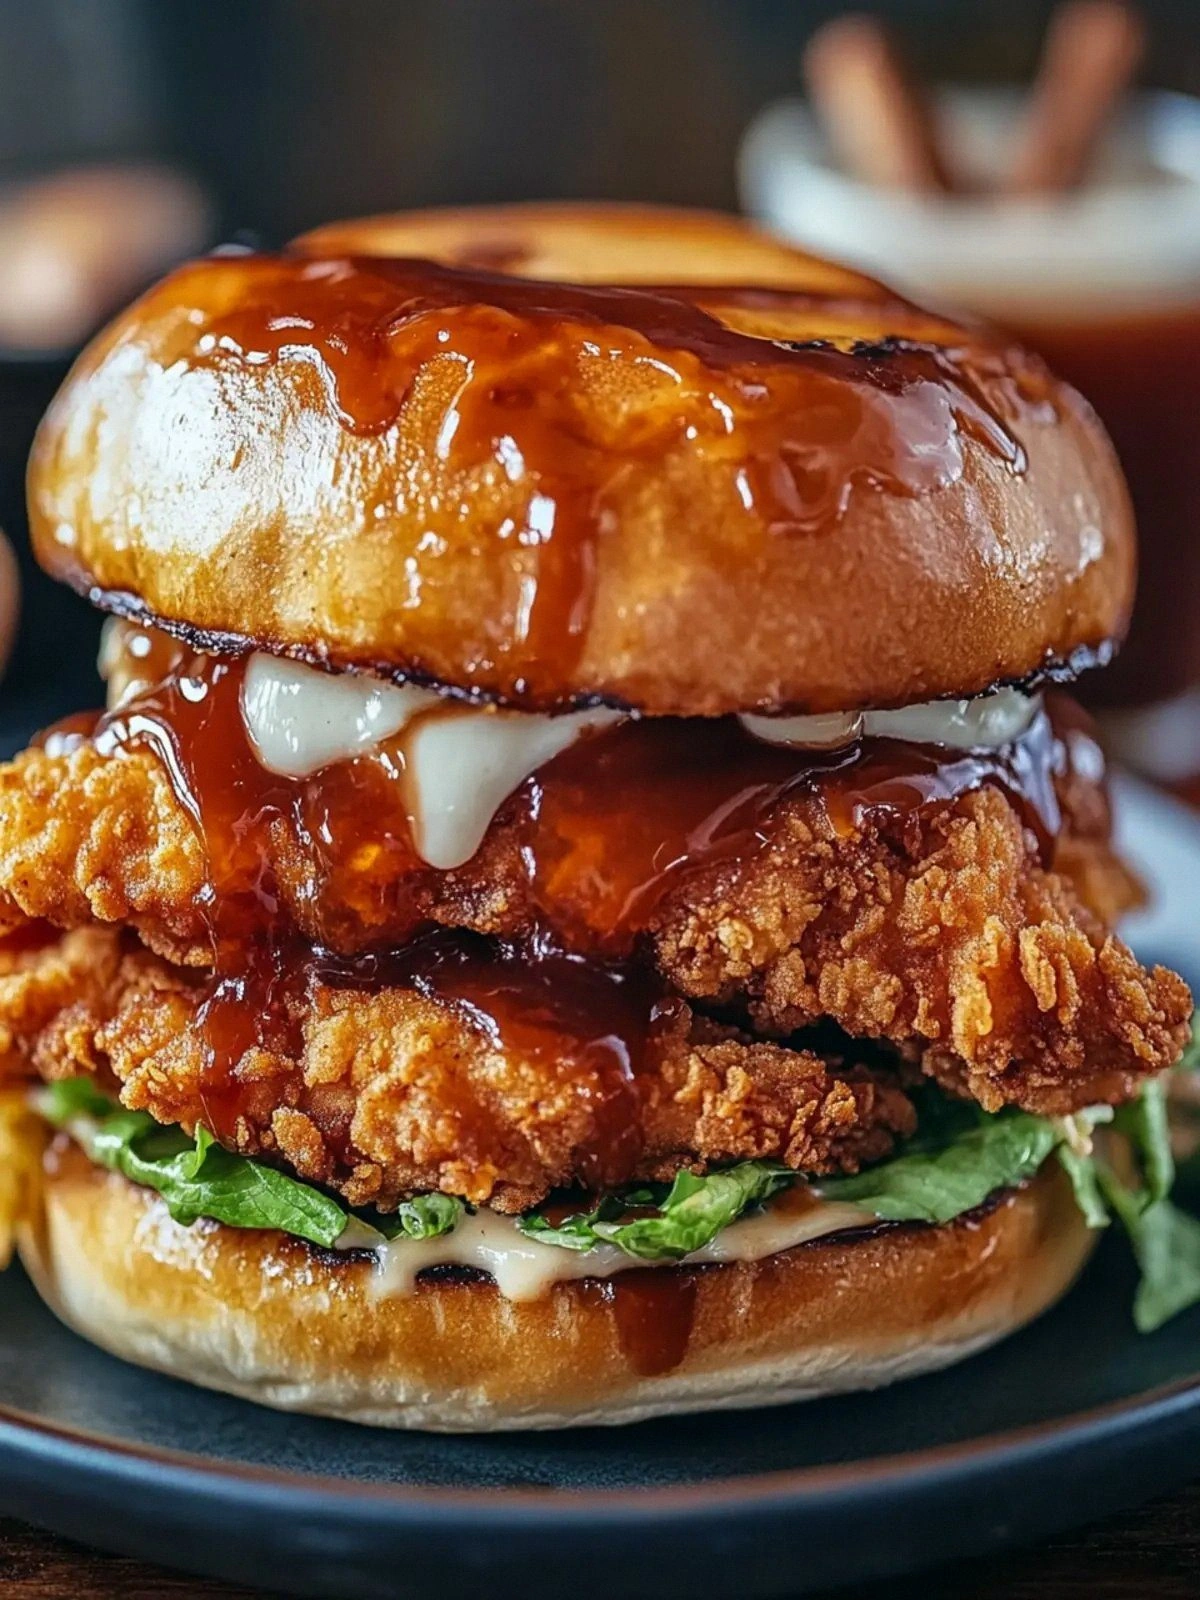
Picture this: a golden, buttery cinnamon roll, its sweet glaze dripping like liquid sunshine, tucked beside a crispy chicken breast that crackles as you bite into it. The aroma is a heady blend of toasted sugar and savory salt that makes your nose do a happy dance. The texture is a delightful contrast—soft, pillowy dough against a crunch that shatters like thin ice. The taste? A sweet‑savory balance that lingers on the palate, leaving you craving a second bite. If you’ve ever felt torn between dessert and dinner, this dish resolves that dilemma in one glorious bite.
I dare you to taste this and not go back for seconds. Most recipes get this completely wrong by either over‑browning the chicken or under‑cooking the cinnamon roll. I’ll be honest— I ate half the batch before anyone else got to try it. The secret? A simple, yet genius technique that ensures the chicken stays juicy while the roll stays perfectly soft. I’ve been experimenting for months, tweaking the batter, the coating, and the sauce until I hit the sweet spot. The result is hands down the best version you’ll ever make at home.
Picture yourself pulling this out of the oven, the whole kitchen smelling incredible, your friends’ eyes widening in disbelief, and your taste buds dancing. That sizzle when the chicken hits the pan? Absolute perfection. The moment the cinnamon roll’s glaze glistens like a golden halo—pure bliss. The crunch of the bread coating feels like a tiny, edible fireworks show. The whole dish is a celebration of flavors that feels like a party in your mouth. Stay with me here—this is worth it.
What Makes This Version Stand Out
- Flavor Fusion: The marriage of sweet cinnamon and savory chicken creates a harmony that lingers, turning an ordinary meal into an unforgettable experience.
- Crisp Coating: A panko breadcrumb base gives the chicken a light, airy crunch that doesn’t overpower the delicate roll.
- Make‑Ahead Friendly: Prepare the batter and roll in advance, then simply bake or fry when you’re ready—perfect for busy weeknights.
- Ingredient Quality: Using fresh, high‑grade chicken breasts and premium cinnamon rolls elevates the dish from good to gourmet.
- Visual Appeal: The golden glaze on the roll and the caramelized coating on the chicken make the plate a feast for the eyes.
- Texture Contrast: Soft, pillowy dough meets crisp, buttery bread, each bite delivering a satisfying mouthfeel.
- Guest‑Ready: This dish is a crowd‑pleaser that will have your guests asking for the recipe before the last bite.
- Versatility: Swap the cinnamon roll for a savory roll or add a spicy kick for a new twist—this recipe adapts to your mood.
Alright, let's break down exactly what goes into this masterpiece…
Inside the Ingredient List
The Flavor Base
The 1.5 lbs of boneless, skinless chicken breasts are the star of the show. They provide a lean, protein‑rich foundation that absorbs the sweet‑savory flavors of the coating and glaze. If you skip the chicken, you lose the hearty element that balances the dessert‑like roll. For a leaner option, trim any visible fat or use a mix of breasts and thighs for richer flavor. A quick tip: season the chicken with salt and pepper before marinating to enhance its natural taste.
Salt is essential—it brings out the sweetness in the cinnamon roll and the savory depth in the chicken. Pepper adds a subtle heat that cuts through the richness. If you prefer a milder version, reduce the pepper to a pinch. Both spices are the invisible glue that holds the flavor profile together. Remember: seasoning is the first step toward culinary mastery.
The Texture Crew
The 2 large eggs act as a binder, allowing the panko breadcrumbs to stick to the chicken and form a crisp shell. They also add a slight richness that complements the buttery roll. Skipping the eggs would result in a crumbly, uneven coating that falls apart in the first bite. If you’re egg‑allergic, try a splash of water or a tablespoon of milk as a substitute, but be aware that the coating may not crisp as perfectly.
Panko breadcrumbs are the secret weapon for a light, airy crunch. Unlike regular breadcrumbs, panko has larger flakes that create a more substantial bite without heavy density. Using 1 cup of panko ensures each chicken piece gets a generous, golden coating. If you want an extra crunch, double the panko and lightly toast it in a skillet before coating the chicken.
The Unexpected Star
12 oz of ready‑made cinnamon rolls bring that sweet, buttery goodness to the plate. Their pre‑baked dough is already infused with cinnamon sugar, so you’re adding only a glaze and a little extra sweetness. If you can’t find a brand you love, make your own rolls—just keep the dough soft and the sugar balanced. Skipping the rolls would turn this into a standard fried chicken recipe, losing the unique sweet‑savory element.
Brown sugar, measured at 1 tbsp, adds depth to the glaze and a subtle molasses undertone that pairs beautifully with the vanilla extract. This small amount is enough to caramelize the surface without overpowering the cinnamon flavor. If you prefer a sweeter glaze, increase the sugar to 2 tbsp; if you want a lighter touch, reduce it to 1 tsp.
The Final Flourish
Maple syrup is the liquid gold that brings everything together. Drizzle it over the fried chicken to create a glossy glaze that locks in moisture and adds a touch of natural sweetness. 2 tbsp of maple syrup is just enough to coat the chicken without drowning the flavor. If you’re a fan of a richer maple taste, swap it for a drizzle of honey; if you’re watching sugar, use a sugar‑free maple syrup alternative.
Vanilla extract, just 1 tsp, is the final aromatic touch that elevates the glaze. It balances the cinnamon’s warmth and the maple’s sweetness, giving the dish an unmistakable depth. Skipping vanilla would leave the glaze feeling flat and one‑dimensional. Use a high‑quality vanilla extract for the best flavor; a vanilla bean would be even better if you’re feeling fancy.
Everything's prepped? Good. Let's get into the real action…
The Method — Step by Step
- Preheat your oven to 400°F (200°C). While the oven warms, set up your breading station: place the flour in a shallow dish, whisk the eggs in another, and spread the panko breadcrumbs in a third. This classic three‑bucket method ensures each piece gets a perfect coating. If you’re in a hurry, you can skip the flour and go straight to the egg, but the flour helps the coating stick.
- Season the chicken breasts with salt and pepper on both sides. Pat them dry with paper towels; moisture is the enemy of crispness. A dry surface guarantees the panko will adhere and create that coveted crunch. I love using a light dusting of paprika for a subtle color boost, but it’s optional.
- Dredge each chicken breast in flour, shaking off excess. Dip it into the beaten eggs, letting any excess drip back into the dish. Finally, press the chicken into the panko breadcrumbs, pressing gently to ensure a thick, even coating. If you’re short on time, you can skip the flour step and go straight to the egg.
- Place the coated chicken on a wire rack set over a baking sheet. This setup allows air to circulate and ensures the coating stays crisp. Bake for 25–28 minutes, flipping halfway through, until the internal temperature reaches 165°F (74°C) and the coating is golden brown. The chicken should smell toasty, and the edges will start pulling away from the parchment.
- While the chicken bakes, prepare the glaze. In a small saucepan, combine the maple syrup, 1 tbsp of brown sugar, and 1 tsp of vanilla extract. Warm over medium heat, stirring constantly until the mixture thickens slightly and coats the back of a spoon. This glaze should be glossy, not runny.
- Remove the chicken from the oven and drizzle the glaze over each piece. The glaze should cling to the coating, creating a shiny, sweet finish. Let the chicken rest for 5 minutes to allow the glaze to set and the juices to redistribute.
- While the chicken rests, warm the cinnamon rolls in the oven for 3–5 minutes, just enough to soften the dough without melting the glaze. This step ensures the rolls are warm and pillowy, ready to pair with the chicken.
- Serve the glazed chicken alongside the warm cinnamon rolls, optionally drizzling extra glaze over the rolls. The contrast of sweet and savory will have you questioning why you ever ate them separately. Enjoy the crunch, the melt, and the unforgettable flavor combo.
That's it — you did it. But hold on, I've got a few more tricks that'll take this to another level…
Insider Tricks for Flawless Results
The Temperature Rule Nobody Follows
Many cooks think any 400°F will do, but the exact temperature is crucial for crispness. Set your oven to 425°F if you want an extra crunchy shell. The higher heat caramelizes the coating faster, locking in moisture. If you’re using a convection oven, reduce the temperature by 25°F to avoid burning the glaze.
Why Your Nose Knows Best
Smell the chicken as it bakes—if it’s smelling like toasted sugar, you’re in the sweet zone. If it’s more like roasted chicken, you’re under‑baked. Use this olfactory cue to decide when to flip the pieces. A good rule of thumb: flip when the coating starts pulling away from the parchment and the aroma shifts to a buttery caramel.
The 5-Minute Rest That Changes Everything
Letting the chicken rest after baking is not optional. It allows the juices to redistribute, preventing a dry bite. The glaze also sets, creating a glossy, cohesive coating. I’ve seen people skip this step and end up with a sticky mess; don’t make that mistake.
Use a Wire Rack for Even Cooking
Baking the chicken on a wire rack ensures heat circulates around each piece, giving a uniform crispness. If you’re short on racks, a parchment‑lined sheet will work, but the coating might become slightly soggy on the bottom. The rack is a simple tool that makes a noticeable difference.
Add a Touch of Heat for Variation
If you’re a fan of a spicy kick, sprinkle a pinch of cayenne pepper into the panko mix. The heat will contrast beautifully with the sweet glaze and add a subtle bite. I’ve experimented with chipotle powder for a smoky flavor—this works wonders if you’re feeling adventurous.
Creative Twists and Variations
This recipe is a playground. Here are some of my favorite ways to switch things up:
Cinnamon Roll with a Spicy Glaze
Add a tablespoon of sriracha to the maple glaze for a sweet‑heat combo that will make your tongue dance. The heat cuts through the sweetness, creating a balanced flavor. Serve with a side of cool yogurt to temper the spice.
Apple Cinnamon Roll Fusion
Swap the cinnamon roll for a fresh apple cinnamon roll, adding diced apples into the dough. The fruit adds a juicy burst that pairs well with the savory chicken. This version is perfect for autumn gatherings.
Cheese‑Stuffed Cinnamon Roll Surprise
Insert a small cube of cream cheese into each cinnamon roll before baking. The cheese melts into a creamy center, creating a decadent twist. This variation is a crowd‑pleaser at brunch.
Glazed Chicken with Honey‑Soy Drizzle
Replace maple syrup with a honey‑soy mixture for an umami‑sweet glaze. The soy adds depth, while honey keeps the sweetness balanced. This version works well with a side of steamed rice.
Vegan Version with Tofu
Use firm tofu instead of chicken, marinated in soy sauce and garlic. Coat the tofu in panko and bake until golden. The tofu absorbs the glaze, delivering a plant‑based twist that still satisfies the sweet‑savory craving.
Storing and Bringing It Back to Life
Fridge Storage
Store leftovers in an airtight container in the refrigerator for up to 3 days. The glaze may harden slightly; let the chicken rest at room temperature for 10 minutes before serving to soften the coating. Reheat in a 350°F oven for 10 minutes, or in a skillet over medium heat until warmed through.
Freezer Friendly
Wrap each chicken piece individually in parchment paper, then place in a freezer bag. Freeze for up to 2 months. Thaw overnight in the refrigerator before reheating. The glaze will remain tacky, so a quick drizzle of maple syrup before serving restores its glossy finish.
Best Reheating Method
Reheat in a 375°F oven for 10–12 minutes, or in a skillet over medium heat. To keep the coating crisp, avoid microwaving. Add a tiny splash of water to the pan before reheating; the steam will help the glaze stay moist without becoming soggy.