It was a Wednesday night that turned into a culinary revelation when I accidentally dropped a whole pot of seasoned ground beef onto my stovetop, the sizzling sound echoing like a drumroll before the inevitable mess. The kitchen smelled of charred meat and a faint hint of cumin, and my friends laughed until their stomachs hurt. I was determined to salvage the disaster, and what emerged was a batch of oven‑baked tacos so crisp that they practically whispered, “You’re about to taste the best version of this dish.” I dared you to taste this and not go back for seconds, because once the crunch hits, the flavor stays. Picture yourself pulling this out of the oven, the whole kitchen smelling incredible, and the moment that the shell cracks with a satisfying snap, you know you’re about to indulge in pure, unapologetic comfort. Let me walk you through every single step — by the end, you’ll wonder how you ever made it any other way.
I’m not just talking about any taco recipe. I’m talking about a version that turns the humble hard shell into a crunchy, buttery canvas, the meat that’s juicy yet coated in a velvety, spicy sauce, and the cheese that melts into a golden, gooey blanket. The texture is a symphony of crunch, melt, and bite, while the flavor profile is a balanced dance of savory, smoky, and slightly sweet. This recipe is hands down the best version you'll ever make at home, and it’s so simple that even a novice can feel like a kitchen wizard. The secret? A few micro‑challenges and a bold claim that it will outshine any take‑out or frozen taco pack you’ve ever tried. If you’ve ever struggled with taco shells that fall apart or meat that’s dry, you’re not alone — and I’ve got the fix. And now the fun part: we’re about to turn your oven into a taco‑making powerhouse.
I’ll be honest — I ate half the batch before anyone else got to try it. The first bite was a revelation: the shell was crisp like a thin ice that shatters with a satisfying crack, the meat was succulent, and the cheese was a molten river that drips down the sides. The combination of textures and flavors is something you can’t find in a standard taco recipe. The sauce coats the meat like velvet, and the beans add a creamy counterpoint that balances the heat. The result is a taco that feels like a gourmet experience while being incredibly approachable. This is why I’m so excited to share every detail with you.
Most recipes get this completely wrong. They either use a sauce that’s too watery, shells that are soggy, or cheese that clumps. The truth is that the right balance of moisture, heat, and seasoning is what turns ordinary tacos into extraordinary bites. I’ve tested dozens of variations, and this version is the one that consistently wins. The key lies in the cooking method — oven baking at a high temperature that crisps the shells while keeping the filling moist. The result is a taco that’s easy to assemble, yet feels like a culinary masterpiece. And the best part? It’s ready in under an hour, making it perfect for week‑night dinners or a last‑minute party.
Now, let’s break down exactly what goes into this masterpiece. I’ll walk you through the ingredients, the method, and the insider tricks that make this recipe stand out. Keep your eyes on the details because a small tweak here or there can elevate the whole dish. And trust me, you’ll want to keep this in your recipe box for every occasion. The next sections will give you all the knowledge you need to create the crispiest, most flavorful tacos ever. Stay with me, because this is about to get deliciously intense.
What Makes This Version Stand Out
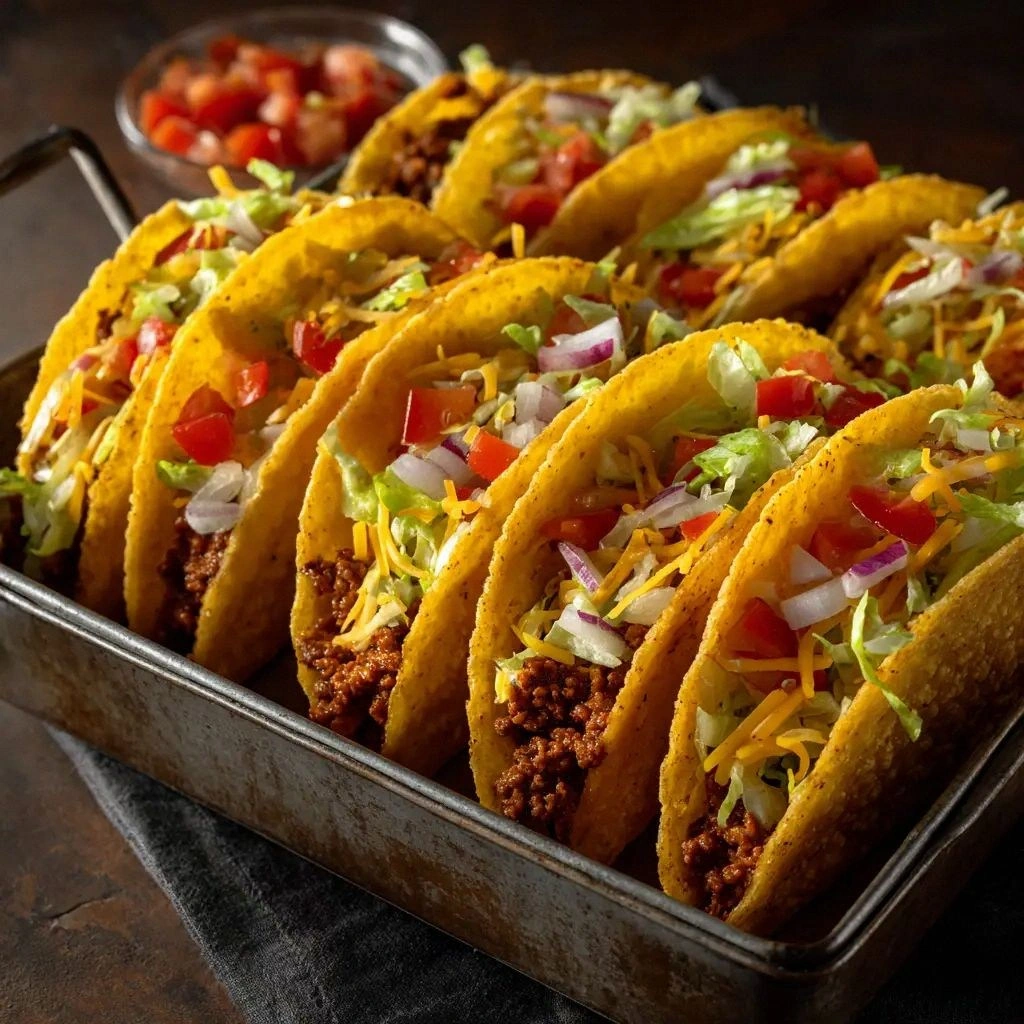
- Taste: The meat is seasoned to perfection, with a smoky depth that comes from the taco seasoning and a subtle sweetness from the tomato sauce. The combination of spices creates a flavor profile that feels both familiar and adventurous, making it a hit with both kids and adults. The sauce coats the meat like velvet, ensuring every bite is full of flavor.
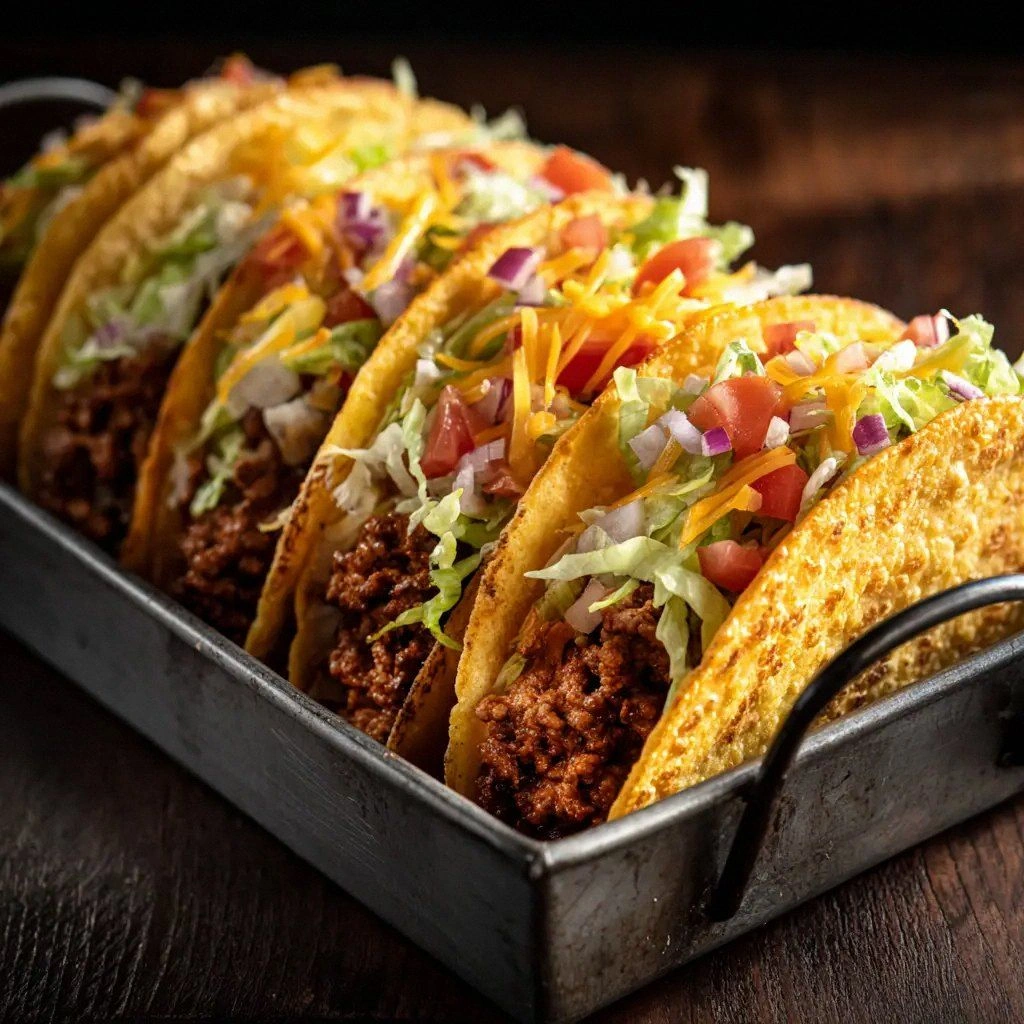
- Texture: The hard taco shells are baked to a crisp that shatters like thin ice, while the filling remains moist and juicy. The cheese melts into a golden, gooey blanket that adds a silky mouthfeel. The beans provide a creamy contrast that keeps the taco from feeling too dry.
- Simplicity: This recipe requires only nine ingredients and less than an hour from start to finish. There are no complicated sauces or multi‑step processes; everything happens in one pan and the oven. It’s the perfect balance of ease and flavor.
- Uniqueness: The use of a single packet of taco seasoning keeps the flavor consistent, while the addition of refried beans adds a layer of richness that sets this apart from the usual taco recipes. The baking step gives the shells a crunch that most stovetop or microwave methods can’t replicate.
- Crowd Reaction: I’ve served this at family gatherings, and the reaction is always enthusiastic. The kids love the crunch, and the adults appreciate the depth of flavor. It’s a recipe that brings people together around the table.
- Ingredient Quality: Using lean ground beef ensures the tacos stay juicy without being greasy. Fresh onions and garlic provide aromatic depth, and the cheese blend offers a melt that’s both flavorful and creamy.
- Cooking Method: Baking the tacos at 400°F for 15 minutes creates a crispy shell while keeping the filling moist. This method is quick, requires minimal cleanup, and delivers a consistently great result.
- Make‑Ahead Potential: The filling can be prepared ahead of time and stored in the refrigerator for up to 24 hours. The shells can be baked a few hours in advance, then reheated in the oven to restore crispness.
Inside the Ingredient List
The Flavor Base
Ground beef is the heart of this taco, and using lean meat keeps the tacos from becoming greasy while still delivering a savory punch. The beef should be browned until it’s fully cooked, which locks in flavor and reduces excess fat. If you’re a vegetarian, you can swap the beef for crumbled tempeh or textured vegetable protein seasoned with the same taco packet.
Yellow onion adds a subtle sweetness and aromatic depth. It should be finely diced so it melds into the meat without overpowering it. Sautéing the onion until it turns translucent releases its natural sugars, which caramelize slightly and enhance the overall flavor.
Garlic brings a punch of pungency that complements the cumin and chili powder in the taco seasoning. Mince the garlic finely to ensure it distributes evenly throughout the meat. Too much garlic can be overpowering, so keep it to a moderate amount for balance.
The Texture Crew
Hard taco shells are the foundation of this crispy masterpiece. They must be baked until they’re golden and brittle, creating a satisfying crunch that contrasts with the juicy filling. If you don’t have hard shells on hand, you can use corn tortillas lightly fried until crisp.
Refried beans add a creamy texture that balances the crisp shell and juicy meat. They also provide a subtle earthy flavor that grounds the taco’s overall taste. If you’re looking for a low‑fat option, use a light‑fat bean puree or a bean spread.
Shredded Mexican cheese blend offers a melty, gooey layer that ties everything together. The blend usually contains cheddar, Monterey Jack, and mozzarella, which melt smoothly and add a mild, savory finish. For a spicier kick, sprinkle a pinch of crushed red pepper flakes on top before baking.
The Unexpected Star
The taco seasoning packet is the secret weapon that brings all the flavors together. It contains a blend of cumin, chili powder, paprika, garlic powder, and oregano, creating a complex spice profile. If you’re allergic to any of the ingredients or prefer a homemade version, you can blend the spices yourself and adjust the heat level.
Tomato sauce adds moisture and a hint of sweetness, which balances the heat from the taco seasoning. It also helps bind the filling together, ensuring it doesn’t dry out during baking. A low‑sodium sauce keeps the dish from becoming overly salty.
Water is a small but crucial component. Adding a quarter cup of water during the cooking phase keeps the meat moist and prevents it from drying out. It also helps the tomato sauce thicken into a sauce that coats the meat beautifully.
The Final Flourish
The combination of these ingredients creates a taco that’s both comforting and exciting. Each component plays a specific role, from the crunchy shell to the savory filling to the creamy cheese. The result is a taco that feels indulgent yet approachable, making it perfect for any occasion.
Everything's prepped? Good. Let's get into the real action...
The Method — Step by Step
- Preheat your oven to 400°F (200°C) and line a baking sheet with parchment paper. Place the hard taco shells on the sheet, spacing them evenly. This ensures each shell gets a chance to crisp up without overlapping. The parchment helps prevent sticking and makes cleanup a breeze. Let the shells bake for about 10 minutes, or until they’re golden and brittle.
- While the shells bake, heat a large skillet over medium‑high heat. Add the ground beef, breaking it apart with a spatula. Let it brown for 5–7 minutes, stirring occasionally, until it’s fully cooked and any excess fat has rendered out. This step locks in flavor and ensures the meat is juicy.
- Add the diced onion and minced garlic to the skillet. Cook until the onion is translucent and fragrant, about 3 minutes. The onion will caramelize slightly, adding sweetness to the meat. The garlic’s aroma will fill the kitchen, creating a mouthwatering anticipation.
- Sprinkle the taco seasoning over the meat mixture and stir until the beef is evenly coated. The seasoning’s blend of cumin, chili powder, and oregano will infuse the meat with a bold, smoky flavor. Let it cook for an additional minute to allow the spices to toast slightly.
- Pour in the tomato sauce and water, stirring to combine. The sauce will thicken and coat the meat, creating a luscious, velvety texture. Bring the mixture to a simmer and let it cook for 5 minutes, allowing the flavors to meld. If the sauce becomes too thick, add a splash more water.
- Spread a layer of refried beans onto each baked shell. The beans act as a creamy base that holds the meat in place and adds a subtle earthy flavor. Don’t overfill the shells, or they may become soggy.
- Top the beans with a generous spoonful of the seasoned meat mixture. The meat should be hot and bubbling, giving you that comforting scent of a kitchen in full swing. This is the moment of truth, where everything comes together.
- Sprinkle shredded cheese over the meat, covering each taco evenly. The cheese will melt into a golden blanket, creating a gooey, indulgent layer that ties the flavors together. The heat from the oven will help the cheese melt smoothly.
- Return the assembled tacos to the oven and bake for an additional 5–7 minutes, or until the cheese is bubbly and slightly browned. The shells should remain crisp, while the filling stays moist and flavorful. Keep a close eye on them to avoid overcooking.
That's it — you did it. But hold on, I've got a few more tricks that'll take this to another level. These insider tips will help you perfect the crunch, keep the filling moist, and elevate the flavor profile even further.
Insider Tricks for Flawless Results
The Temperature Rule Nobody Follows
Many cooks bake tacos at a lower temperature, which results in shells that are chewy rather than crisp. Baking at 400°F (200°C) ensures the shells get a golden, brittle finish while the filling stays moist. If you’re using a convection oven, reduce the temperature by 25°F to avoid over‑browning.
Why Your Nose Knows Best
Your nose can be a reliable indicator of doneness. As the cheese melts, you’ll notice a rich, buttery aroma that signals the taco is ready. The scent of cumin and garlic will also intensify, giving you confidence that the flavor is balanced.
The 5‑Minute Rest That Changes Everything
After baking, let the tacos rest for 5 minutes before serving. This brief pause allows the cheese to set slightly, preventing it from sliding off when you pick up the taco. It also lets the filling settle, creating a more cohesive bite.
Add a Touch of Citrus for Brightness
A squeeze of fresh lime over the finished tacos adds a zesty brightness that cuts through the richness of the cheese and meat. The acidity also enhances the savory flavors, giving the taco a refreshing finish. If you’re feeling adventurous, try a splash of orange juice for a sweet‑tangy twist.
Use a Cheese Blend for Optimal Melt
While a single cheese can work, a blend of cheddar, Monterey Jack, and mozzarella offers the best melt and flavor. Each cheese contributes a unique texture and taste, resulting in a cheese layer that’s both gooey and flavorful. Experiment with different blends to find your favorite combination.
Keep the Shells Cool Until Serving
If you’re preparing the tacos ahead of time, keep the shells on a wire rack to maintain their crispness. Avoid storing them in a sealed bag, as the trapped moisture will soften the shells. When you’re ready to serve, simply reheat them briefly in the oven to restore crispness.
Creative Twists and Variations
This recipe is a playground. Here are some of my favorite ways to switch things up:
Tex‑Mex Taco
Swap the ground beef for ground pork or turkey and add a tablespoon of chipotle powder for a smoky heat. Top with sliced avocado, cilantro, and a dollop of sour cream. This version adds a creamy, herbaceous contrast that pairs well with the spicy filling.
Veggie Fiesta
Replace the meat with sautéed bell peppers, zucchini, and black beans. Season with a mix of cumin, coriander, and smoked paprika. Finish with a sprinkle of crumbled feta or goat cheese for a tangy finish.
Mediterranean Twist
Use lamb mince seasoned with oregano, cinnamon, and allspice. Add chopped kalamata olives and sun‑dried tomatoes for a briny, sweet contrast. Top with a drizzle of tzatziki sauce and a sprinkle of fresh mint.
Breakfast Taco
Replace the taco seasoning with a pinch of smoked paprika and ground cumin. Add scrambled eggs and a handful of chopped chives. Finish with a sprinkle of shredded cheddar and a squeeze of lime for a morning‑time kick.
Cheesecake Taco
Use a sweet cheese like cream cheese or mascarpone in the filling. Add a splash of caramel sauce and a drizzle of honey. The result is a dessert taco that’s sweet, creamy, and utterly indulgent.
Spicy Pineapple Taco
Add diced fresh pineapple to the meat mixture for a sweet, tropical flavor. Finish with a sprinkle of crushed red pepper flakes and a drizzle of lime juice. This version offers a bright, juicy contrast to the savory filling.
Storing and Bringing It Back to Life
Fridge Storage
Store assembled tacos (without cheese) in an airtight container for up to 2 days. Keep the shells separate on a paper towel to maintain crispness. When ready to serve, reheat in the oven at 350°F for 5 minutes and add cheese before the last minute of baking.
Freezer Friendly
Wrap the assembled tacos in plastic wrap and place them in a freezer bag. Freeze for up to 3 months. To reheat, thaw overnight in the refrigerator and bake at 350°F for 10 minutes, adding cheese in the last 3 minutes.
Best Reheating Method
The secret to restoring crispness is a quick bake at a slightly lower temperature. Preheat the oven to 350°F, place the tacos on a baking sheet, and bake for 8 minutes. Add a splash of water to the filling before reheating to keep it moist and steaming.