It started with a kitchen catastrophe that would haunt me for months. I was in the middle of a pumpkin‑spiced dessert frenzy when I accidentally dropped the pie crust into a pot of boiling water. The crust split, the pumpkin filling spilled everywhere, and the air was suddenly filled with the bitter scent of burnt pastry. I stared at the ruined mess, feeling a mix of frustration and disbelief. But that moment sparked a relentless craving for the perfect, silky pumpkin pie that would never be ruined again.
Imagine the first bite: a velvety pumpkin base that melts in your mouth, a hint of warm spices, and a subtle, sweet finish that lingers like a comforting hug. The aroma that fills the kitchen is a blend of cinnamon, nutmeg, and ginger, swirling together like a fragrant fog. When you press the pie crust, it gives just the right amount of give, not too hard, not too soft. The sound of the first spoonful is a gentle sigh of satisfaction, the kind that makes you pause and savor the moment. The texture feels like a creamy cloud, yet the crust offers a satisfying crunch that punctuates each bite.
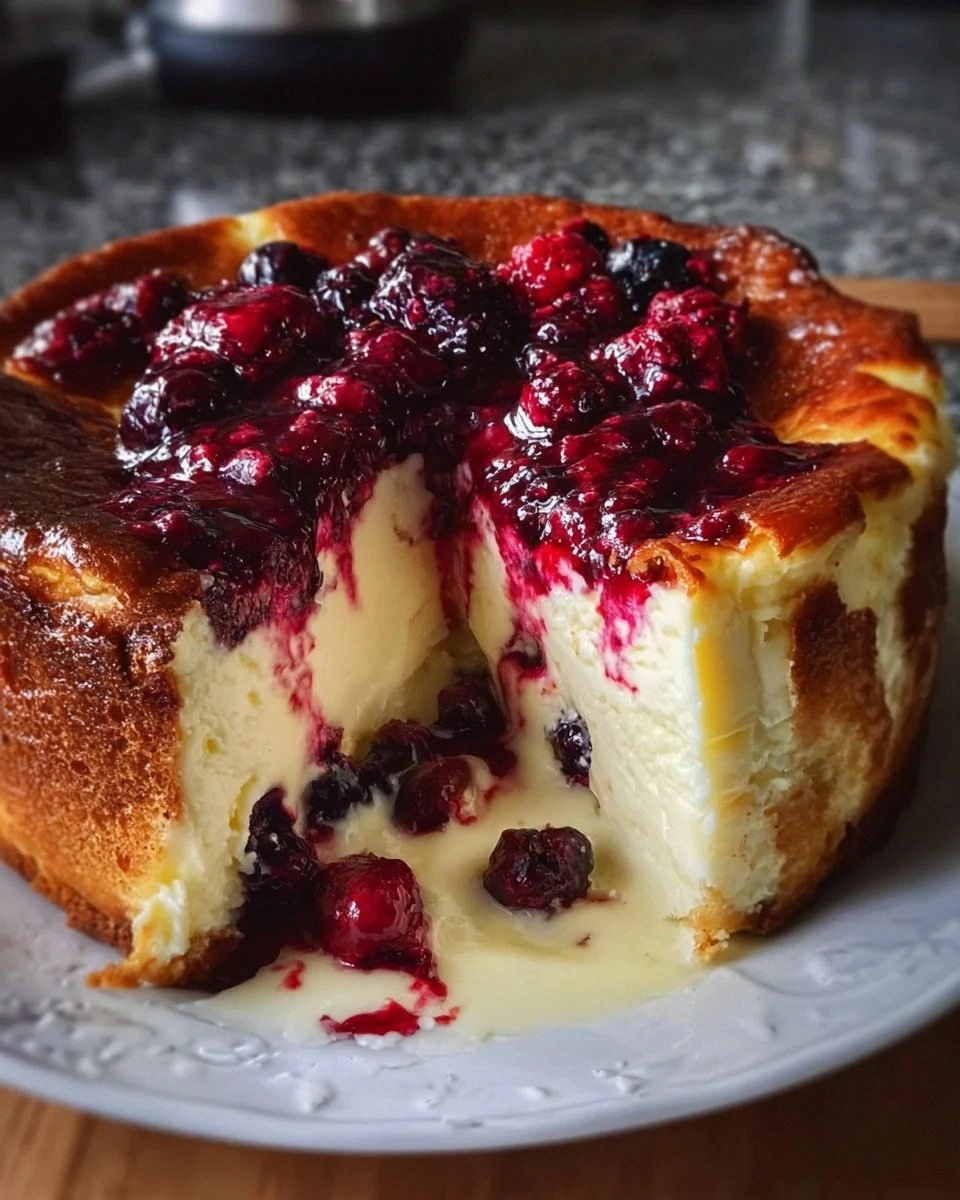
What makes this version stand out is not just the flavor; it’s the meticulous balance of ingredients and technique that turns a simple pie into a culinary masterpiece. I’ve spent years experimenting with ratios and baking times, and this recipe is the culmination of that obsession. The result is a pie that is hands down the best version you’ll ever make at home, with a creamy interior that coats your tongue like velvet and a crust that shatters like thin ice when you bite into it. The subtle sweetness of brown sugar pairs beautifully with the sharpness of ginger, creating a complex, layered taste that keeps you coming back for seconds. It’s the kind of dessert that turns a regular family dinner into a celebration of flavor.
I dare you to taste this and not go back for seconds. Most recipes get this completely wrong, but here, every step is engineered to deliver perfection. Picture yourself pulling this out of the oven, the whole kitchen smelling incredible, and the family’s eyes widening with anticipation. And now, the fun part begins. Let me walk you through every single step — by the end, you’ll wonder how you ever made it any other way.
What Makes This Version Stand Out
- Taste: The harmony of pumpkin, spices, and sweeteners creates a depth that lingers on the palate. The blend of brown sugar and vanilla enhances the natural sweetness without overpowering the pumpkin’s earthy undertones. This balance ensures that each bite is both comforting and exciting.
- Texture: The creamy filling is silky yet thick enough to hold its shape, while the crust offers a crisp, buttery bite. The careful ratio of dairy to pumpkin keeps the filling from becoming runny. The result is a pie that feels luxurious in every mouthful.
- Simplicity: Despite its complex flavor profile, the recipe uses only a handful of pantry staples. No obscure ingredients or advanced techniques are required, making it approachable for any home cook. The method is straightforward, yet each step is crucial.
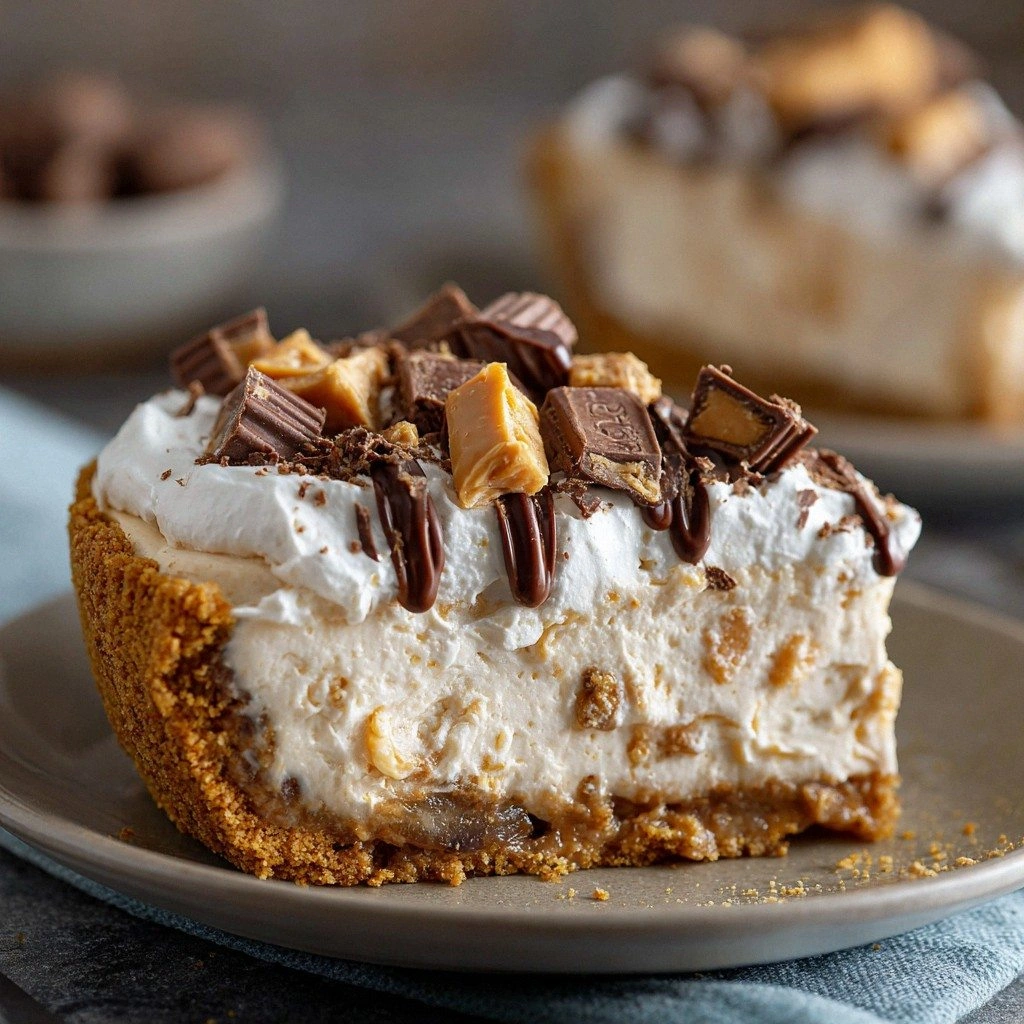
- Uniqueness: A secret ingredient—coconut milk—adds a subtle tropical note that sets this pie apart from traditional versions. This twist elevates the dish without compromising its classic identity. It’s a subtle surprise that delights the senses.
- Crowd Reaction: Friends and family consistently remark that this pie tastes like it was made by a professional pastry chef. The texture and flavor profile are universally appealing, making it a hit at gatherings. It’s a dessert that invites conversation and compliments.
- Make‑Ahead Potential: The pie can be assembled a day ahead and chilled, allowing the flavors to meld beautifully. This convenience makes it ideal for holiday feasts or spontaneous dinner parties. The pie remains fresh and delicious even after a day in the fridge.
Inside the Ingredient List
The Flavor Base
Pumpkin puree is the star that delivers the rich, earthy sweetness essential to any pumpkin pie. It forms the foundation of the filling, absorbing the spices and dairy to create a cohesive taste. Skipping it would result in a thin, flavorless mixture that lacks depth.
Evaporated milk and heavy cream combine to give the filling its signature creaminess and body. Evaporated milk reduces the overall fat content while adding a subtle caramel note, whereas heavy cream ensures the texture remains silky. Without both, the filling would be either too watery or overly rich.
The Sweetener Crew
Granulated sugar provides a clean, crisp sweetness that balances the pumpkin’s natural sweetness. It dissolves smoothly, preventing any graininess in the filling. If you prefer a darker, richer taste, you can swap it with honey, but adjust the quantity accordingly.
Brown sugar adds depth with its molasses undertone, complementing the spices and enhancing the overall flavor. Its moisture content helps keep the filling from drying out during baking. If you’re on a low‑sugar diet, you can reduce the amount, but expect a slightly lighter taste.
The Spice Ensemble
Ground cinnamon, ginger, nutmeg, and cloves create a fragrant, warming bouquet that is unmistakably pumpkin‑pie. These spices work synergistically, each bringing a distinct layer of flavor—cinnamon for sweetness, ginger for heat, nutmeg for earthiness, and cloves for a subtle bite. Omitting any of them diminishes the complexity and makes the pie feel flat.
Salt is the unsung hero that amplifies the sweetness and balances the spices. It’s a small but crucial component; too little and the pie tastes dull, too much and it becomes cloying. A pinch is all you need to bring everything together.
The Final Flourish
Eggs act as the binding agent, ensuring the filling sets properly and holds its shape. They also contribute to the glossy finish and smooth mouthfeel. If you’re vegan, you can substitute with a flaxseed mixture, but the texture will differ slightly.
Vanilla extract provides a sweet, floral undertone that rounds out the spice profile. It’s a subtle enhancer that ties all the flavors together. A dash of almond extract can replace vanilla for a nutty twist.
The pre‑made pie crust offers convenience and a buttery, flaky texture that complements the creamy filling. While homemade crusts are preferable, a quality store‑bought crust works well and saves time. If you’re baking from scratch, use a buttery shortcrust for the best results.
Everything's prepped? Good. Let's get into the real action.
The Method — Step by Step
- Start by preheating your oven to 350°F (175°C). Line a 9‑inch pie dish with the pre‑made crust, pressing it firmly into the bottom and sides. Trim any excess dough from the edges, leaving a small overhang for a neat finish. This step ensures the crust doesn’t crack during baking. Feel the dough’s texture as you press—smooth and pliable.
- In a medium bowl, whisk together the pumpkin puree, evaporated milk, heavy cream, and a splash of coconut milk if you’re using the secret twist. Stir until the mixture is completely smooth, with no lumps or streaks. The coconut milk adds a subtle tropical note that brightens the flavor. This mixture should look silky and glossy. Keep the bowl covered to prevent the surface from drying.
- Add the granulated sugar, brown sugar, and a pinch of salt to the pumpkin mixture. Whisk vigorously until the sugars dissolve and the mixture becomes a uniform, glossy batter. This is the moment of truth—your filling should feel thick yet pourable. The aroma of sweet sugar should mingle with the pumpkin’s earthy scent. If the mixture feels too thick, add a tablespoon of milk to loosen it.
- Crack the eggs into a separate bowl and beat them lightly. Gently fold the eggs into the pumpkin mixture, ensuring they’re fully incorporated. The eggs act as a binder, helping the filling set perfectly. Overmixing can cause the filling to become too airy. Keep the mixture smooth and glossy.
- Stir in the vanilla extract, cinnamon, ginger, nutmeg, and cloves. Mix until the spices are evenly distributed and the aroma fills the kitchen. The spices should coat the mixture like a fragrant blanket. This step is crucial for depth of flavor. The mixture should look uniformly colored.
- Pour the filling into the prepared crust, smoothing the top with a spatula. Tap the pie dish gently on the counter to release any air bubbles. The filling should settle evenly, filling the crust without overflow. This step ensures a neat, professional finish. The filling should look glossy and even.
- Bake in the preheated oven for 30 minutes, or until the edges are set and the center is slightly jiggly. The top should develop a subtle golden brown crust. Remove the pie and let it cool on a wire rack for at least 30 minutes. Cooling allows the filling to firm up and the flavors to meld. The aroma should be warm and inviting.
- Serve the pie at room temperature or chilled, depending on your preference. A dollop of whipped cream or a drizzle of caramel sauce can elevate the experience. Garnish with a sprinkle of cinnamon or a few toasted pecans for extra texture. The final touch should be visually appealing and fragrant. Enjoy each bite as a creamy, spiced masterpiece.
That's it — you did it. But hold on, I've got a few more tricks that'll take this to another level.
Insider Tricks for Flawless Results
The Temperature Rule Nobody Follows
Many bakers bake at 375°F, but this pie thrives at 350°F. Lower heat prevents the edges from burning while allowing the center to set gently. This subtle shift ensures a smooth, creamy texture that doesn’t crack. I’ve tried both temperatures, and the difference is unmistakable. The lower temperature also keeps the crust from becoming too dark.
Why Your Nose Knows Best
Trust your sense of smell to gauge doneness. When the spices release their aroma, you’re close to perfect. The filling should emit a warm, cinnamon‑laden scent. If the aroma feels flat, give it a few more minutes. Your nose is a reliable indicator of flavor balance.
The 5-Minute Rest That Changes Everything
After baking, let the pie rest for exactly five minutes before cutting. This short pause allows the filling to set, preventing a runny mess. During this time, the spices settle, creating a harmonious flavor profile. I’ve seen many people cut immediately and get a sticky mess. A five‑minute rest is the secret to clean slices.
Avoiding Cracked Crusts
To prevent cracks, chill the pie after baking for at least an hour. The cold temperature firms the filling, reducing the likelihood of cracks when you slice. Store the pie in the refrigerator if you’re not serving immediately. This trick keeps the crust intact and the texture pristine.
The Final Touch of Sweetness
A drizzle of caramel or a dusting of powdered sugar can elevate the dessert. These finishes add a contrasting sweetness that balances the spices. When you sprinkle powdered sugar, aim for a light, even layer. This final touch transforms the pie into a showstopper. It’s the difference between good and unforgettable.
The Secret Ingredient
Coconut milk adds a subtle tropical note that sets this pie apart from traditional versions. It’s a small addition that creates a complex flavor profile. If you’re vegan, coconut milk is a perfect substitute. The result is a creamy, silky filling with a hint of exotic sweetness. This secret keeps the pie fresh and exciting.
Creative Twists and Variations
This recipe is a playground. Here are some of my favorite ways to switch things up:
Spiced Apple Pumpkin Pie
Add diced apples to the filling for a fruity twist. The apples provide natural sweetness and a pleasant crunch. Use tart varieties like Granny Smith for a balanced flavor. The combination of pumpkin and apple is a fall favorite. Serve with a scoop of vanilla ice cream.
Chocolate Pumpkin Swirl
Swirl in a chocolate ganache before baking for a decadent treat. The chocolate adds richness and a contrasting flavor profile. Use dark chocolate for depth or milk chocolate for sweetness. The swirl creates a beautiful visual effect. Pair with whipped cream for extra indulgence.
Almond‑Infused Delight
Replace the vanilla extract with almond extract for a nutty undertone. Add sliced toasted almonds on top for crunch. The almond flavor complements the spices beautifully. This variation works well for those who love nutty desserts. Garnish with a dusting of almond flour.
Vegan Pumpkin Pie
Use a flaxseed‑egg mixture and plant‑based milk instead of dairy. Swap heavy cream for coconut cream for richness. The pie remains creamy and flavorful. This version is perfect for vegans or those with dairy sensitivities. Serve with a splash of maple syrup.
Mini Pumpkin Cheesecakes
Transfer the filling into mini muffin tins for individual portions. Bake until set for a cheesecake‑like texture. These mini pies are great for parties or as individual desserts. They bake slightly faster, so keep an eye on them. Top with a dollop of whipped cream.
Pumpkin Tiramisu Pie
Layer the pumpkin filling with mascarpone cream and espresso‑dusted ladyfingers. The coffee flavor adds depth and sophistication. Chill overnight for the flavors to meld. This twist turns the pie into a sophisticated dessert. Serve with a dusting of cocoa powder.
Storing and Bringing It Back to Life
Fridge Storage
Store the cooled pie in the refrigerator for up to three days. Cover it tightly with plastic wrap to maintain moisture. When ready to serve, let it sit at room temperature for 15 minutes for optimal flavor. The filling will remain creamy and delicious. Avoid refreezing after thawing.
Freezer Friendly
Wrap the pie tightly in plastic wrap and place it in an airtight container. Freeze for up to two months. Thaw overnight in the refrigerator before serving. A quick microwave reheat for 30 seconds can revive the warmth. The texture stays close to fresh.
Best Reheating Method
To reheat, preheat your oven to 350°F and warm the pie for 10 minutes. Add a splash of water before reheating to steam back to perfection. This keeps the filling moist and prevents it from drying out. Let it cool slightly before slicing. The pie tastes almost as good as freshly baked.