Picture this: I’m standing in a cramped kitchen, the oven timer blinking red, a bowl of soggy, over‑cooked pickles staring back at me. I’m thinking, “I’ve got to rescue these briny cubes before they become a sad, salty soup.” I flicked on the air fryer, grabbed a handful of dill pickles, and decided to give them a crispy makeover. The moment the air fryer whirred to life, I felt a surge of culinary hope—because, let’s face it, nothing screams “savory snack” louder than crunch.
The air fryer’s gentle hum became a soundtrack, and the scent of dill wafted through the room like a promise. I could taste the faint tang of vinegar even before the first bite, while the crunchy surface whispered a satisfying snap. The heat radiated like a small sun, warming my fingers as I tossed the coated pickles into the basket. By the time the timer buzzed, the kitchen was alive with the aroma of toasted panko and a faint hint of cayenne—an invitation that I could not resist.
The secret sauce? A simple batter that turns every pickle into a golden, crunchy masterpiece, with just the right amount of heat and seasoning. Unlike the usual battered fries that taste flat, these pickles burst with dill, garlic, and a subtle heat that lingers. The air fryer does the heavy lifting, giving a crisp shell without the oil soak that makes traditional fried snacks feel greasy. I dare you to taste this and not go back for seconds, because the texture alone will have you craving more. I’ve never seen a snack that balances salty, sweet, and spicy so seamlessly.
Now, here’s the kicker: I’m going to show you how to use a splash of lemon juice in the batter to give the coating a bright, citrusy lift that cuts through the tang. And trust me, the result is a crunchy, juicy bite that will have your friends asking for the recipe. This is hands down the best version you’ll ever make at home, because it’s simple, flavorful, and the air fryer does all the hard work. Let me walk you through every single step — by the end, you'll wonder how you ever made it any other way.
Okay, ready for the game‑changer? I’ll keep you in the loop as I coat each pickle with the batter, toss them into the basket, and let the air fryer work its magic. Watch the sizzling sound as the coating crisps into a golden crust. I’ll pause to share a quick tip on how to keep the coating from sticking and how to adjust the heat if your air fryer is on the hot side. By the time the timer chirps, you’ll have a batch of crisp, flavorful pickles that will make your taste buds dance.
What Makes This Version Stand Out
- Crunch: The coating forms a crisp shell that snaps with every bite, delivering a satisfying crunch that echoes the original pickle’s bite but with a buttery, golden finish. The heat from the air fryer caramelizes the panko, giving a subtle nutty flavor that pairs perfectly with the dill’s sharpness. This texture is what separates these from any soggy alternative.
- Flavor Layer: Garlic powder and paprika infuse the batter with depth, while cayenne pepper adds a subtle heat that lingers long after the first bite. The dill pickles provide that classic brine, and the lemon splash brightens the entire dish. Together they create a complex, savory profile that feels both familiar and adventurous.
- Air Fryer Advantage: No deep‑frying, no greasy residue, just a light, airy coating that keeps the interior moist. The air circulation crisps the outside evenly, eliminating the uneven browning that plagues stovetop attempts. This method also saves time and cleanup, making it a practical choice for any busy kitchen.
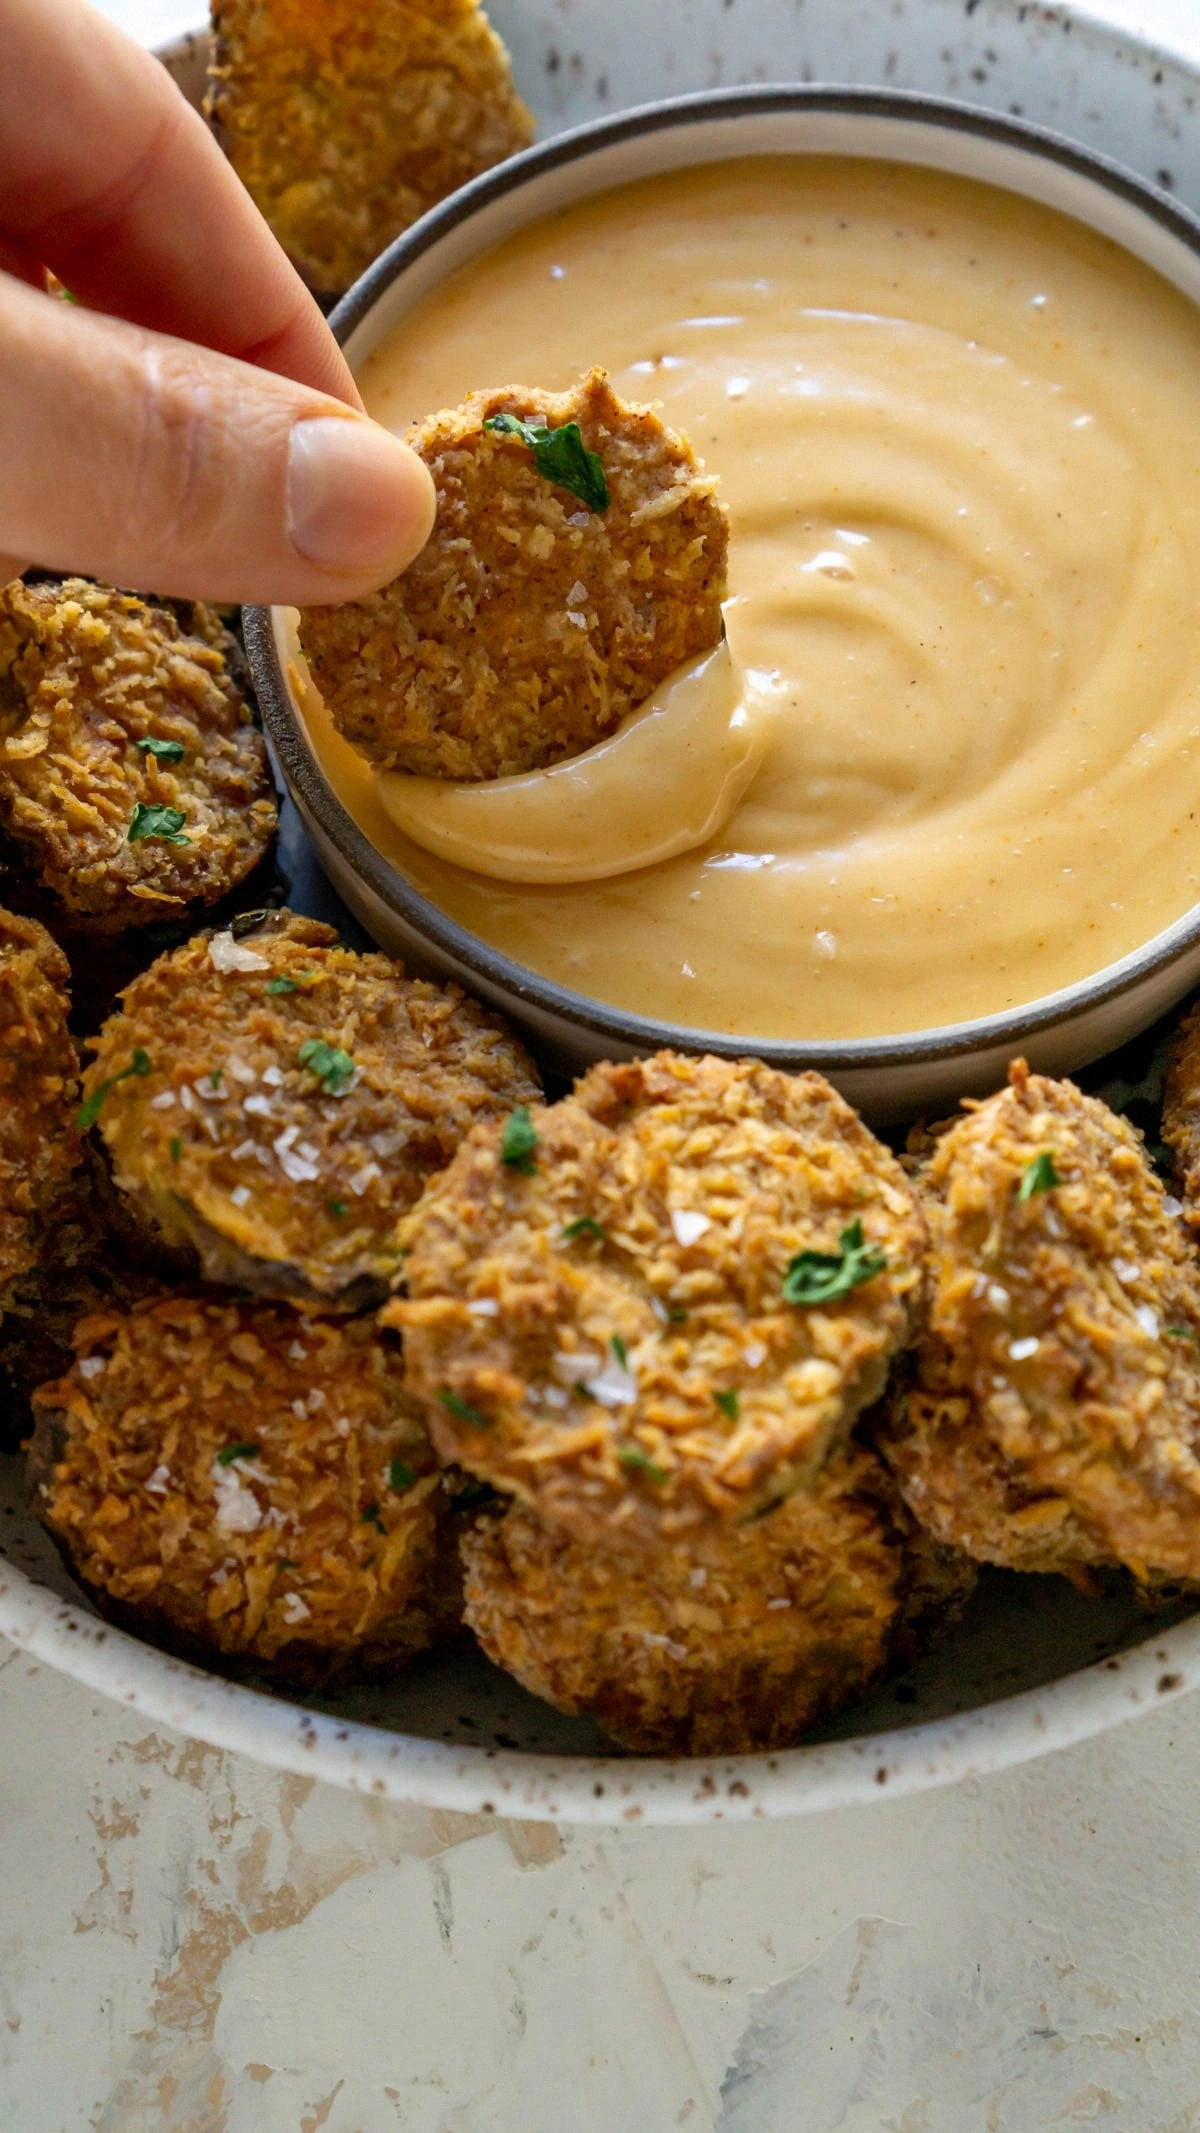
- Visual Appeal: The golden, panko‑coated surface glistens like a sun‑kissed treasure. When you lift a pickle out of the basket, the crunch is audible, and the aroma is irresistible. It’s a dish that looks as good as it tastes.
- Make‑Ahead Friendly: Once coated, the pickles can be stored in an airtight container for up to 48 hours, then reheated in the air fryer for a few minutes. They keep their crunch and flavor, making them perfect for parties or late‑night cravings.
- Customization Potential: Swap the spices to suit your palate—smoked paprika for a smoky twist, or a dash of cumin for an earthy note. The base recipe is a solid foundation that invites experimentation without sacrificing integrity.
- Health Conscious: By using olive oil spray instead of deep‑frying, you reduce fat content while retaining the indulgent crunch. The recipe still delivers that satisfying bite, proving you can enjoy fried foods without the guilt.
- Social Magnet: Friends rave about the crunch and the punch of flavor. They’ll ask for the recipe after every bite, and you’ll enjoy the bragging rights of being the snack mastermind.
Inside the Ingredient List
The Flavor Base
At the heart of this recipe lies the dill pickles themselves. Their sharp, vinegary bite is the foundation upon which every other flavor rests. If you’re using store‑bought pickles, choose a brand with a balanced brine—neither too salty nor too sweet—because it will dictate the overall flavor profile. Skipping the pickles would strip the dish of its signature tang, leaving the batter underwhelming.
The Texture Crew
The combination of all‑purpose flour and panko bread crumbs creates a dual‑layered coating that is both firm and airy. The flour provides structure, while the panko adds lightness and a crackling crunch. If you can’t find panko, a regular breadcrumb works, but you’ll lose that signature snap. Using a fine flour ensures the batter doesn’t clump, maintaining a smooth coating.
The Unexpected Star
Garlic powder, paprika, and cayenne pepper form a trio that elevates the batter from simple to sensational. Garlic powder delivers a savory depth, paprika offers a mellow sweetness, and cayenne injects a subtle heat that lingers. These spices are the secret sauce that transforms ordinary pickles into a flavor bomb. If you’re not a fan of heat, reduce the cayenne to a quarter teaspoon and still enjoy the robust profile.
The Final Flourish
Olive oil spray and a touch of salt finish the batter by providing a light sheen and balancing the flavors. The oil spray ensures the coating adheres without becoming greasy, while the salt enhances every note in the dish. If you’re watching sodium, use a low‑sodium salt alternative; the recipe will still taste vibrant. A splash of lemon juice in the batter brightens the entire dish, cutting through the brine and adding a subtle citrus lift.
Everything’s prepped? Good. Let’s get into the real action…
The Method — Step by Step
- Preheat the Air Fryer: Set your air fryer to 400°F (200°C) and let it heat for about 3 minutes. The preheat ensures that the first contact of the batter with the hot surface creates an immediate crust. While the unit warms, gather your ingredients and prepare the coating station. This step is critical for that first satisfying crackle.
- Prepare the Batter: In a shallow bowl, whisk together the all‑purpose flour, panko breadcrumbs, baking soda, garlic powder, paprika, cayenne pepper, and salt. Add the beaten eggs and a splash of lemon juice, then stir until the mixture forms a thick, smooth batter. The consistency should be thick enough to cling to the pickles but not so runny that it drips. If the batter is too dry, add a tablespoon of water to loosen it.
- Coat the Pickles: Dip each dill pickle slice into the batter, ensuring an even coat, then press it onto a plate lined with parchment paper to remove excess. The coating should be thick enough to hold together during cooking. The batter’s thickness also prevents the pickles from drying out inside.
- Arrange in the Basket: Place the coated pickles in a single layer in the air fryer basket, leaving a small gap between each piece. Overcrowding can lead to uneven cooking and a soggy texture. If your air fryer is small, work in batches to maintain airflow.
- Spray with Olive Oil: Lightly spray the coated pickles with olive oil using a pastry brush or a spray bottle. This step gives the coating a glossy finish and helps the crust crisp up beautifully. Do not over‑saturate; a light mist is sufficient.
- Cook the Pickles: Air fry at 400°F for 8 minutes, then flip each pickle over and continue cooking for another 4 minutes. The total time should yield a golden, crunchy exterior and a moist, flavorful interior. The flipping ensures even browning on both sides.
- Check the Texture: After 12 minutes, the edges should pull away slightly from the basket, and the coating should be deeply golden. The interior should still feel slightly moist. If the coating isn’t crisp enough, give them an extra minute or two.
- Watch Out: Keep an eye on the first batch; some air fryers run hotter than others and can scorch the coating if left unattended. If you notice the edges turning dark, reduce the temperature to 380°F and continue cooking. This step prevents a bitter taste from developing.
- Rest Before Serving: Let the pickles rest for 2 minutes after removing them from the air fryer. This allows the steam to settle, preventing a soggy bottom. The rest also lets the flavors meld together, creating a harmonious bite.
- Serve Immediately: Present the crispy pickles on a platter, optionally garnishing with fresh dill or a squeeze of lemon. The aroma alone will entice guests, and the crunch will keep them coming back for more.
Insider Tricks for Flawless Results
The Temperature Rule Nobody Follows
Many home cooks over‑cook their air‑fried snacks by setting the temperature too high. I’ve seen pickles turn from golden to burnt in seconds. The trick is to set the air fryer at 400°F and monitor the first batch closely. If you notice early browning, lower the heat to 380°F. This small adjustment preserves the flavor and keeps the coating from becoming bitter.
Why Your Nose Knows Best
The aroma of toasted panko is your first indicator of success. When you smell that nutty scent, the coating is on the right track. If the scent is faint, the temperature is probably too low. Trust your nose; it’s a reliable guide to achieving the perfect crunch.
The 5-Minute Rest That Changes Everything
After removing the pickles from the air fryer, let them rest on a wire rack for 5 minutes. This brief pause allows the steam to escape, preventing the bottom from becoming soggy. It also gives the spices a chance to settle, enhancing the overall flavor profile.
Staggered Cooking for Even Results
When working with a larger batch, cook in two rounds rather than cramming everything at once. This ensures each pickle receives equal heat and airflow. The result is a uniform crunch that feels consistent across the plate.
Seasoning After the Fry
Once the pickles are out of the air fryer, sprinkle a pinch of fresh sea salt over them. The residual heat will melt the salt into a fine coating that elevates the flavor. This step is often overlooked but can make a noticeable difference.
Creative Twists and Variations
This recipe is a playground. Here are some of my favorite ways to switch things up:
Smoky Chipotle Version
Swap the paprika for smoked paprika and add a teaspoon of chipotle powder. The result is a smoky, slightly sweet kick that pairs well with a creamy dip. It’s perfect for a barbecue or a game‑day spread.
Herb‑Infused Delight
Incorporate chopped fresh rosemary and thyme into the batter. The aromatic herbs lend a Mediterranean flair, turning the pickles into a sophisticated appetizer for your next dinner party.
Cheesy Crunch
Grate a handful of sharp cheddar into the batter before coating. The melted cheese adds a gooey center, while the panko keeps the exterior crisp. It’s a fun twist that kids love.
Sweet and Spicy
Replace the cayenne with a dash of sugar and a pinch of cinnamon. The sweet heat creates a unique flavor profile that’s great with a honey mustard dip.
Vegan Adaptation
Use a plant‑based milk substitute in the batter and replace the eggs with a flaxseed mixture (1 tablespoon flaxseed + 3 tablespoons water). The result is a vegan version that still delivers the same crunch and flavor.
Asian Fusion
Mix in a tablespoon of soy sauce and a pinch of sesame oil into the batter. The umami notes bring an Asian twist that’s surprisingly harmonious with dill pickles.
Storing and Bringing It Back to Life
Fridge Storage
Place the cooked pickles in an airtight container and store them in the refrigerator for up to 48 hours. The crispness will hold, but the texture may soften slightly over time. To re‑crisp, pop them in the air fryer at 375°F for 3 minutes.
Freezer Friendly
Freeze the coated pickles before cooking. Store them in a freezer bag and cook directly from the freezer at 400°F for 12 minutes. The coating stays crisp, and the pickles remain juicy.
Best Reheating Method
Reheat in the air fryer for 3–4 minutes at 375°F. Add a splash of water to the bottom of the basket to create steam, which keeps the interior moist and the coating crunchy.