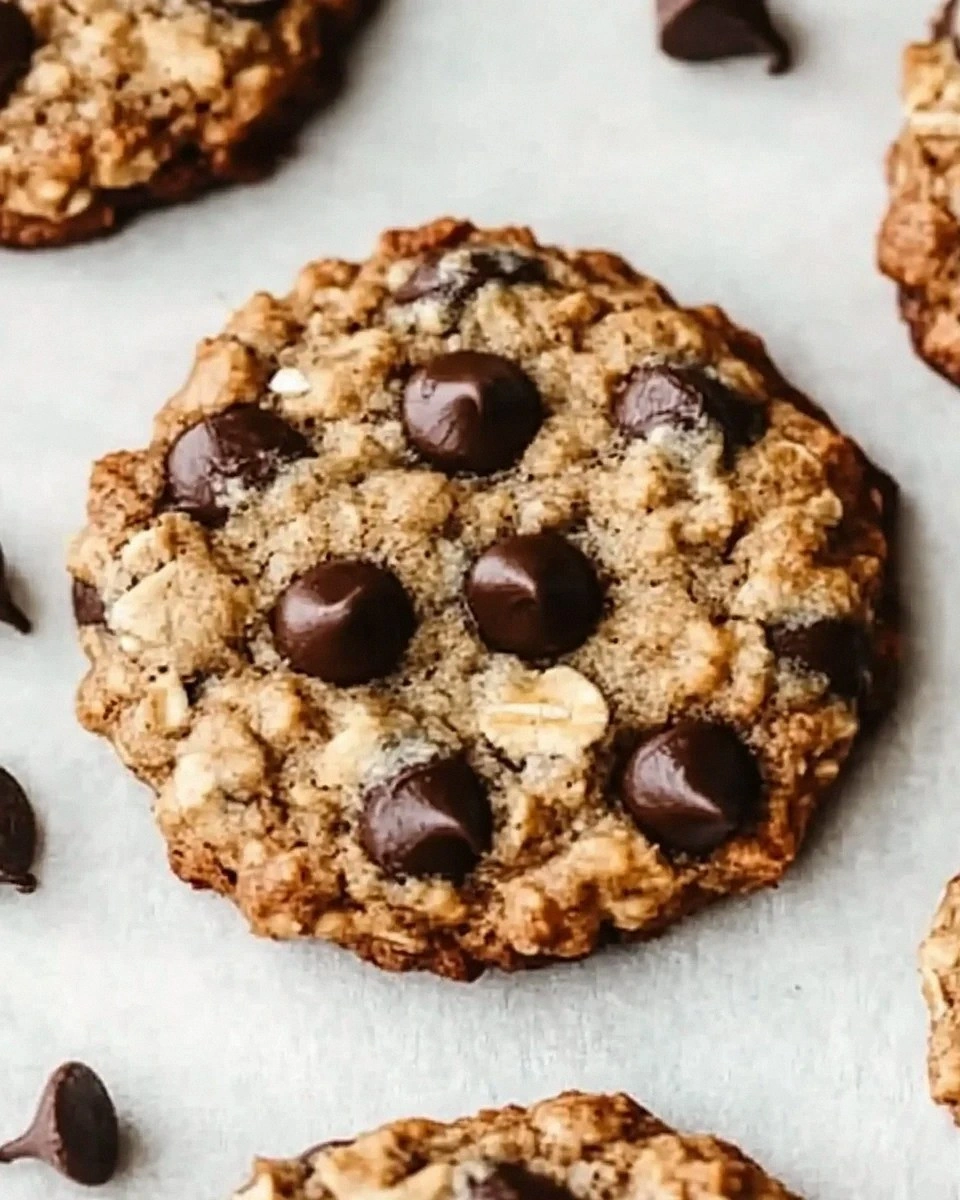
I was standing in my kitchen, eyes glued to the oven display, when the timer beeped a second too early. I had just pulled what I thought were perfect chocolate chip cookies, but the edges were charred, the centers were dry, and the whole batch smelled like burnt sugar. I stared at the mess, then laughed because I knew this was the moment my friend, who swore she could bake a perfect cookie, would swoop in and say, “I dare you to taste this and not go back for seconds.” That challenge lit a spark. I decided it was time to craft a recipe that would outshine every other cookie I’d ever made, a recipe that would have you reaching for the jar of chocolate chips again and again. Picture yourself pulling a tray of golden, soft, chocolate‑laden cookies from the oven, the kitchen filling with a buttery, sweet aroma that makes your heart skip a beat. That’s the sensation I want to capture, and I’m going to walk you through every single step until you’re wondering how you ever baked anything else.
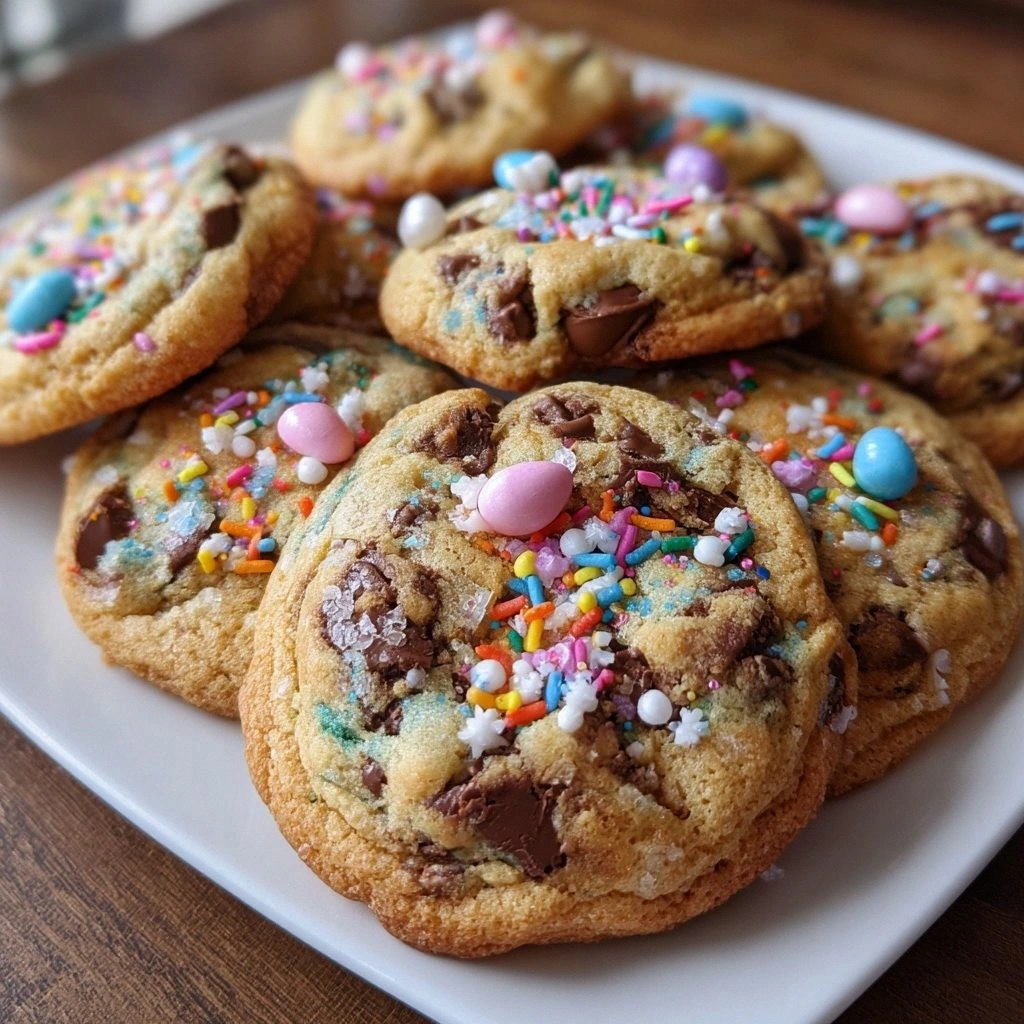
The first time I tried this version, the cookies were a revelation. The dough was silky, the chocolate chips melted into pockets of goo, and the sprinklers added a pop of color that made the whole batch look like a mini Easter parade. The secret? A perfect balance of butter, brown sugar, and vanilla, plus a subtle touch of baking soda that gives the cookies a slight lift without turning them cakey. I’ve been experimenting for months, tweaking ratios, swapping ingredients, and now I’ve nailed the formula that turns a simple cookie into a holiday legend. If you’re tired of cookie recipes that leave you with a crumbly, flat mess, this is the recipe you’ve been waiting for. Let’s dive in and discover why this is hands down the best version you’ll ever make at home.
The moment the dough starts to thicken, the kitchen smells like a warm, comforting hug. The buttery aroma mixes with the caramelized sugar, and the air tastes faintly sweet. I’ve never felt so proud of a simple baking project until I held a freshly baked cookie in my hand and felt the soft center give way to a crisp edge. That sensory snapshot—warm, golden, chocolatey—makes me want to share every detail of this recipe. So, get ready, because the next few minutes will feel like a masterclass in cookie perfection.
What Makes This Version Stand Out
- Richness: The generous amount of softened butter ensures a melt‑in‑your‑mouth texture that no other cookie can rival. It also adds a subtle depth of flavor that elevates the classic chocolate chip experience.
- Sweetness Balance: The combination of granulated and brown sugar creates a sweet, caramelized edge while keeping the center moist and chewy. This duality makes each bite a new experience.
- Chewiness: The packed brown sugar and a touch of baking soda lock in moisture, giving the cookies a chewy core that contrasts with the crisp edges.
- Festive Touch: The optional colorful sprinkles add a pop of color and a playful crunch that turns every cookie into a mini Easter treat.
- Make‑ahead Friendly: The dough can be prepared ahead, frozen, and baked on demand. The flavors actually deepen when the dough rests, making this recipe perfect for busy days.
- Flavor Depth: The vanilla extract infuses a warm, aromatic note that balances the sweetness and enhances the chocolate’s richness.
- Texture Control: The precise ratio of flour to fats keeps the cookies from becoming too dense or too airy—just the right amount of bite.
- Easy Tweaks: Swap semi‑sweet chips for dark chocolate or add nuts for an extra crunch. The base recipe is flexible without sacrificing quality.
Alright, let's break down exactly what goes into this masterpiece...
Inside the Ingredient List
The Flavor Base
Butter is the heart of any cookie. In this recipe, 1 cup of softened butter provides a creamy foundation that melts into the dough, releasing a buttery aroma that lingers long after the cookies are gone. If you skip butter, the cookies will lack that rich mouthfeel and will become dry and crumbly. For a dairy‑free version, swap with an equal amount of vegan butter or coconut oil; just be aware the flavor profile will shift slightly.
The Texture Crew
Granulated sugar (3/4 cup) and packed brown sugar (3/4 cup) work together to create that signature contrast: a crisp, caramelized edge against a chewy center. The brown sugar adds moisture and a subtle molasses note, while the granulated sugar ensures the cookies spread just enough to develop a golden rim. If you prefer a sweeter cookie, increase the granulated sugar by 1/4 cup, but be cautious—more sugar can make the cookies spread too far.
The Unexpected Star
The 2 teaspoons of vanilla extract is the invisible hero that ties all flavors together. Vanilla's warm, floral notes cut through the richness of the butter and chocolate, making every bite feel balanced. If you’re allergic to vanilla or want a twist, try vanilla bean paste or a dash of almond extract; the result will still be delicious.
The Final Flourish
All‑purpose flour (2 1/4 cups) is the structural backbone of the cookie. Too much flour will dry out the dough, while too little will cause it to spread excessively. Use a kitchen scale to measure flour accurately—scoop and level, not spoon. A small swap for whole‑wheat flour can add fiber, but expect a denser cookie and a nuttier flavor.
Everything's prepped? Good. Let's get into the real action...
The Method — Step by Step
- Preheat your oven to 375°F (190°C). Let it reach the right temperature before you start baking; an under‑heated oven can cause the cookies to spread too much. While the oven is warming up, line a baking sheet with a silicone mat or parchment paper to ensure even baking and easy cleanup. The scent of butter and sugar will begin to fill the kitchen—trust me, it’s worth it. Remember, the oven temperature is critical; if you’re unsure, use an oven thermometer for accuracy. Once preheated, set a timer for 12 minutes and keep an eye on the first batch as a reference.
- Cream the butter and sugars. In a large bowl, beat 1 cup of softened butter, 3/4 cup granulated sugar, and 3/4 cup packed brown sugar until the mixture is fluffy and pale. This usually takes about 2–3 minutes with an electric mixer on medium speed. The goal is to incorporate air into the dough, which will help the cookies rise slightly. A fluffy base also ensures a lighter texture. If you’re mixing by hand, be patient; it will take longer but the result is equally delightful.
- Add the eggs and vanilla. Crack 2 large eggs into the creamed mixture, one at a time, beating well after each addition. Stir in 2 teaspoons of vanilla extract. The eggs bind everything together and add moisture, while vanilla brings depth. If you prefer a stronger vanilla flavor, add an extra half teaspoon. Let the mixture sit for 30 seconds; this helps the ingredients meld.
- Combine dry ingredients. In a separate bowl, whisk together 2 ¼ cups all‑purpose flour, 1 teaspoon baking soda, and ½ teaspoon salt. Mixing dry ingredients first ensures even distribution of leavening agents. A small sift over the flour can help aerate it, giving a slightly lighter cookie. Keep the dry mixture on standby while you fold it into the wet base.
- Fold in the flour mixture. Gently fold the dry ingredients into the wet mixture until just combined. Over‑mixing can develop gluten and make the cookies tough. The dough should feel slightly sticky but manageable. If it feels too dry, add a teaspoon of milk or water; if too wet, add a tablespoon of flour.
- Stir in the chocolate chips and sprinkles. Fold in 2 cups of semi‑sweet chocolate chips and ½ cup of colorful Easter sprinkles (optional). The chips should be evenly distributed to avoid clumps. The sprinkles add a playful crunch and a burst of color that makes the cookies feel like a holiday celebration. If you’re avoiding nuts, double-check that your chips are nut‑free.
- Drop spoonfuls onto the baking sheet. Use a tablespoon or a small cookie scoop to drop rounded dough onto the prepared sheet, spacing each about 2 inches apart. The spacing allows the cookies to spread without merging. As they bake, the edges will turn golden while the centers remain soft. Watch the first batch closely; this will help you gauge the optimal baking time for subsequent batches.
- Bake until golden. Place the tray in the preheated oven and bake for 12–14 minutes, or until the edges are golden brown and the tops have a slight sheen. The centers should still look slightly under‑baked; they will set as they cool. If you like a crunchier cookie, bake an additional 1–2 minutes, but be careful not to over‑bake. Once done, remove from the oven and let them cool on the sheet for 5 minutes before transferring to a wire rack to finish cooling.
That’s it— you did it. But hold on, I've got a few more tricks that'll take this to another level. From the perfect cooling method to the best way to store leftovers, the next section will ensure every cookie remains as delicious as the first.
Insider Tricks for Flawless Results
The Temperature Rule Nobody Follows
Many bakers overlook the importance of oven temperature consistency. Use a calibrated oven thermometer to confirm that your oven truly reaches 375°F. If your oven runs hot, lower the temperature by 25°F; if it runs cold, raise it by 25°F. A consistent temperature ensures even browning and prevents the cookies from spreading too much. This small adjustment can make a huge difference in texture.
Why Your Nose Knows Best
When the cookies begin to brown, the aroma is a reliable indicator of readiness. A warm, buttery scent signals that the sugar is caramelizing. If you’re unsure, use your nose as a guide: the scent should be sweet but not burnt. This sensory checkpoint helps prevent over‑baking and preserves the chewy center.
The 5-Minute Rest That Changes Everything
After removing the cookies from the oven, let them rest on the baking sheet for exactly 5 minutes. This pause allows the heat to redistribute, firming up the edges while keeping the center soft. Skipping this step can result in cookies that are still too gooey or that spread further on the rack. Trust the rest; it’s the secret to the perfect bite.
Keep the Dough Chill
If you’re preparing the dough ahead of time, chill it for at least 30 minutes before baking. Cold dough spreads less, giving you more control over the cookie shape. You can also freeze the dough in a single layer on a parchment sheet; once frozen, transfer the dough balls to a zip‑lock bag and bake directly from the freezer, adding an extra minute to the baking time.
Use a Silicone Mat
A silicone baking mat prevents the cookies from sticking and gives them a slightly crisp bottom. It also makes cleanup a breeze, as you can simply peel the mat away from the baked cookies. This mat is reusable and eco‑friendly, making it a must‑have for any serious cookie lover.
Creative Twists and Variations
This recipe is a playground. Here are some of my favorite ways to switch things up:
Nutty Crunch
Add ½ cup of toasted chopped walnuts or pecans to the dough. The nuts introduce a buttery crunch that complements the chocolate chips. They also add a subtle earthy flavor that pairs well with the sweet base.
Dark Chocolate Delight
Swap the semi‑sweet chips for dark chocolate chips or chunks. The richer, slightly bitter profile elevates the cookie into a more sophisticated dessert. Pair with a splash of espresso powder for an extra depth.
Citrus Zest
Grate 1 teaspoon of lemon or orange zest into the dough. The citrus adds brightness and a fresh contrast to the deep chocolate flavor. It also gives the cookies a subtle aromatic lift.
Caramel Swirl
Fold in ¼ cup of caramel bits or drizzle caramel sauce over the dough before baking. The caramel adds a sweet, buttery sweetness that complements the chocolate. The result is a cookie that feels like a caramel‑chocolate fusion.
Holiday Spice
Add ½ teaspoon each of cinnamon and nutmeg to the dry mix. The spices bring warmth and a holiday feel. They work especially well during the winter months and add an aromatic depth to the cookies.
Vegan Version
Replace butter with 1 cup of melted coconut oil, use flaxseed eggs (1 tablespoon ground flaxseed mixed with 3 tablespoons water, set 5 minutes), and swap chocolate chips for dairy‑free ones. The texture remains similar, and the flavors stay true to the original.
Storing and Bringing It Back to Life
Fridge Storage
Store cooled cookies in an airtight container at room temperature for up to 5 days. If you want them to stay fresh longer, keep them in the refrigerator, but remember to let them come to room temperature before serving to avoid a cold, hard texture.
Freezer Friendly
Place the dough balls on a parchment sheet and freeze until solid, then transfer to a zip‑lock bag. Frozen dough can be baked directly from the freezer; just add 1–2 minutes to the baking time. This method preserves the cookie’s flavor and texture for up to 3 months.
Best Reheating Method
Reheat cookies in a 350°F oven for 3–4 minutes to restore warmth and softness. Alternatively, microwave on a plate for 10–15 seconds if you’re in a hurry. For the best results, add a tiny splash of water to the baking sheet before reheating; the steam keeps the cookie moist and prevents it from drying out.